Turning Junk Mail into Paper Clay for Crafts
A few months ago, I shared a quick Instagram Story from my studio where I was collecting junk mail and turning it into paper mache sculpting material…and people went nuts.
“OMG recipe please!”
“This is the coolest thing I’ve seen on the internet in a loooong time.”
“I have so much junk mail I could do this with. Plz show us how to do this.”
These responses tickled me because I was raised by a grandma with an inability to throw anything away, so you could say that coming up with creative ways to reuse “trash” is in my genes. After getting fed up with all the junk mail that was piling up on my table, I decided to use my craftiness to do something about it. (Psst…you should also check out my designer Kristle’s passion project This is Not a Bill which was inspired by a similar feeling.)
The result? Paper clay! About a year and a half ago, I stumbled across a paper mache clay recipe from Ultimate Paper Mache and thought to myself, “Junk mail is paper…so couldn’t it be incorporated into this?” and the recipe tinkering began. A dozen iterations later, I’ve landed on my perfect, simple paper clay recipe for craft enthusiasts like myself. It’s durable, easy to make (even in a small space), and uses simple ingredients easily found at a hardware store (plus the junk mail is already being sent to you lol).
Materials
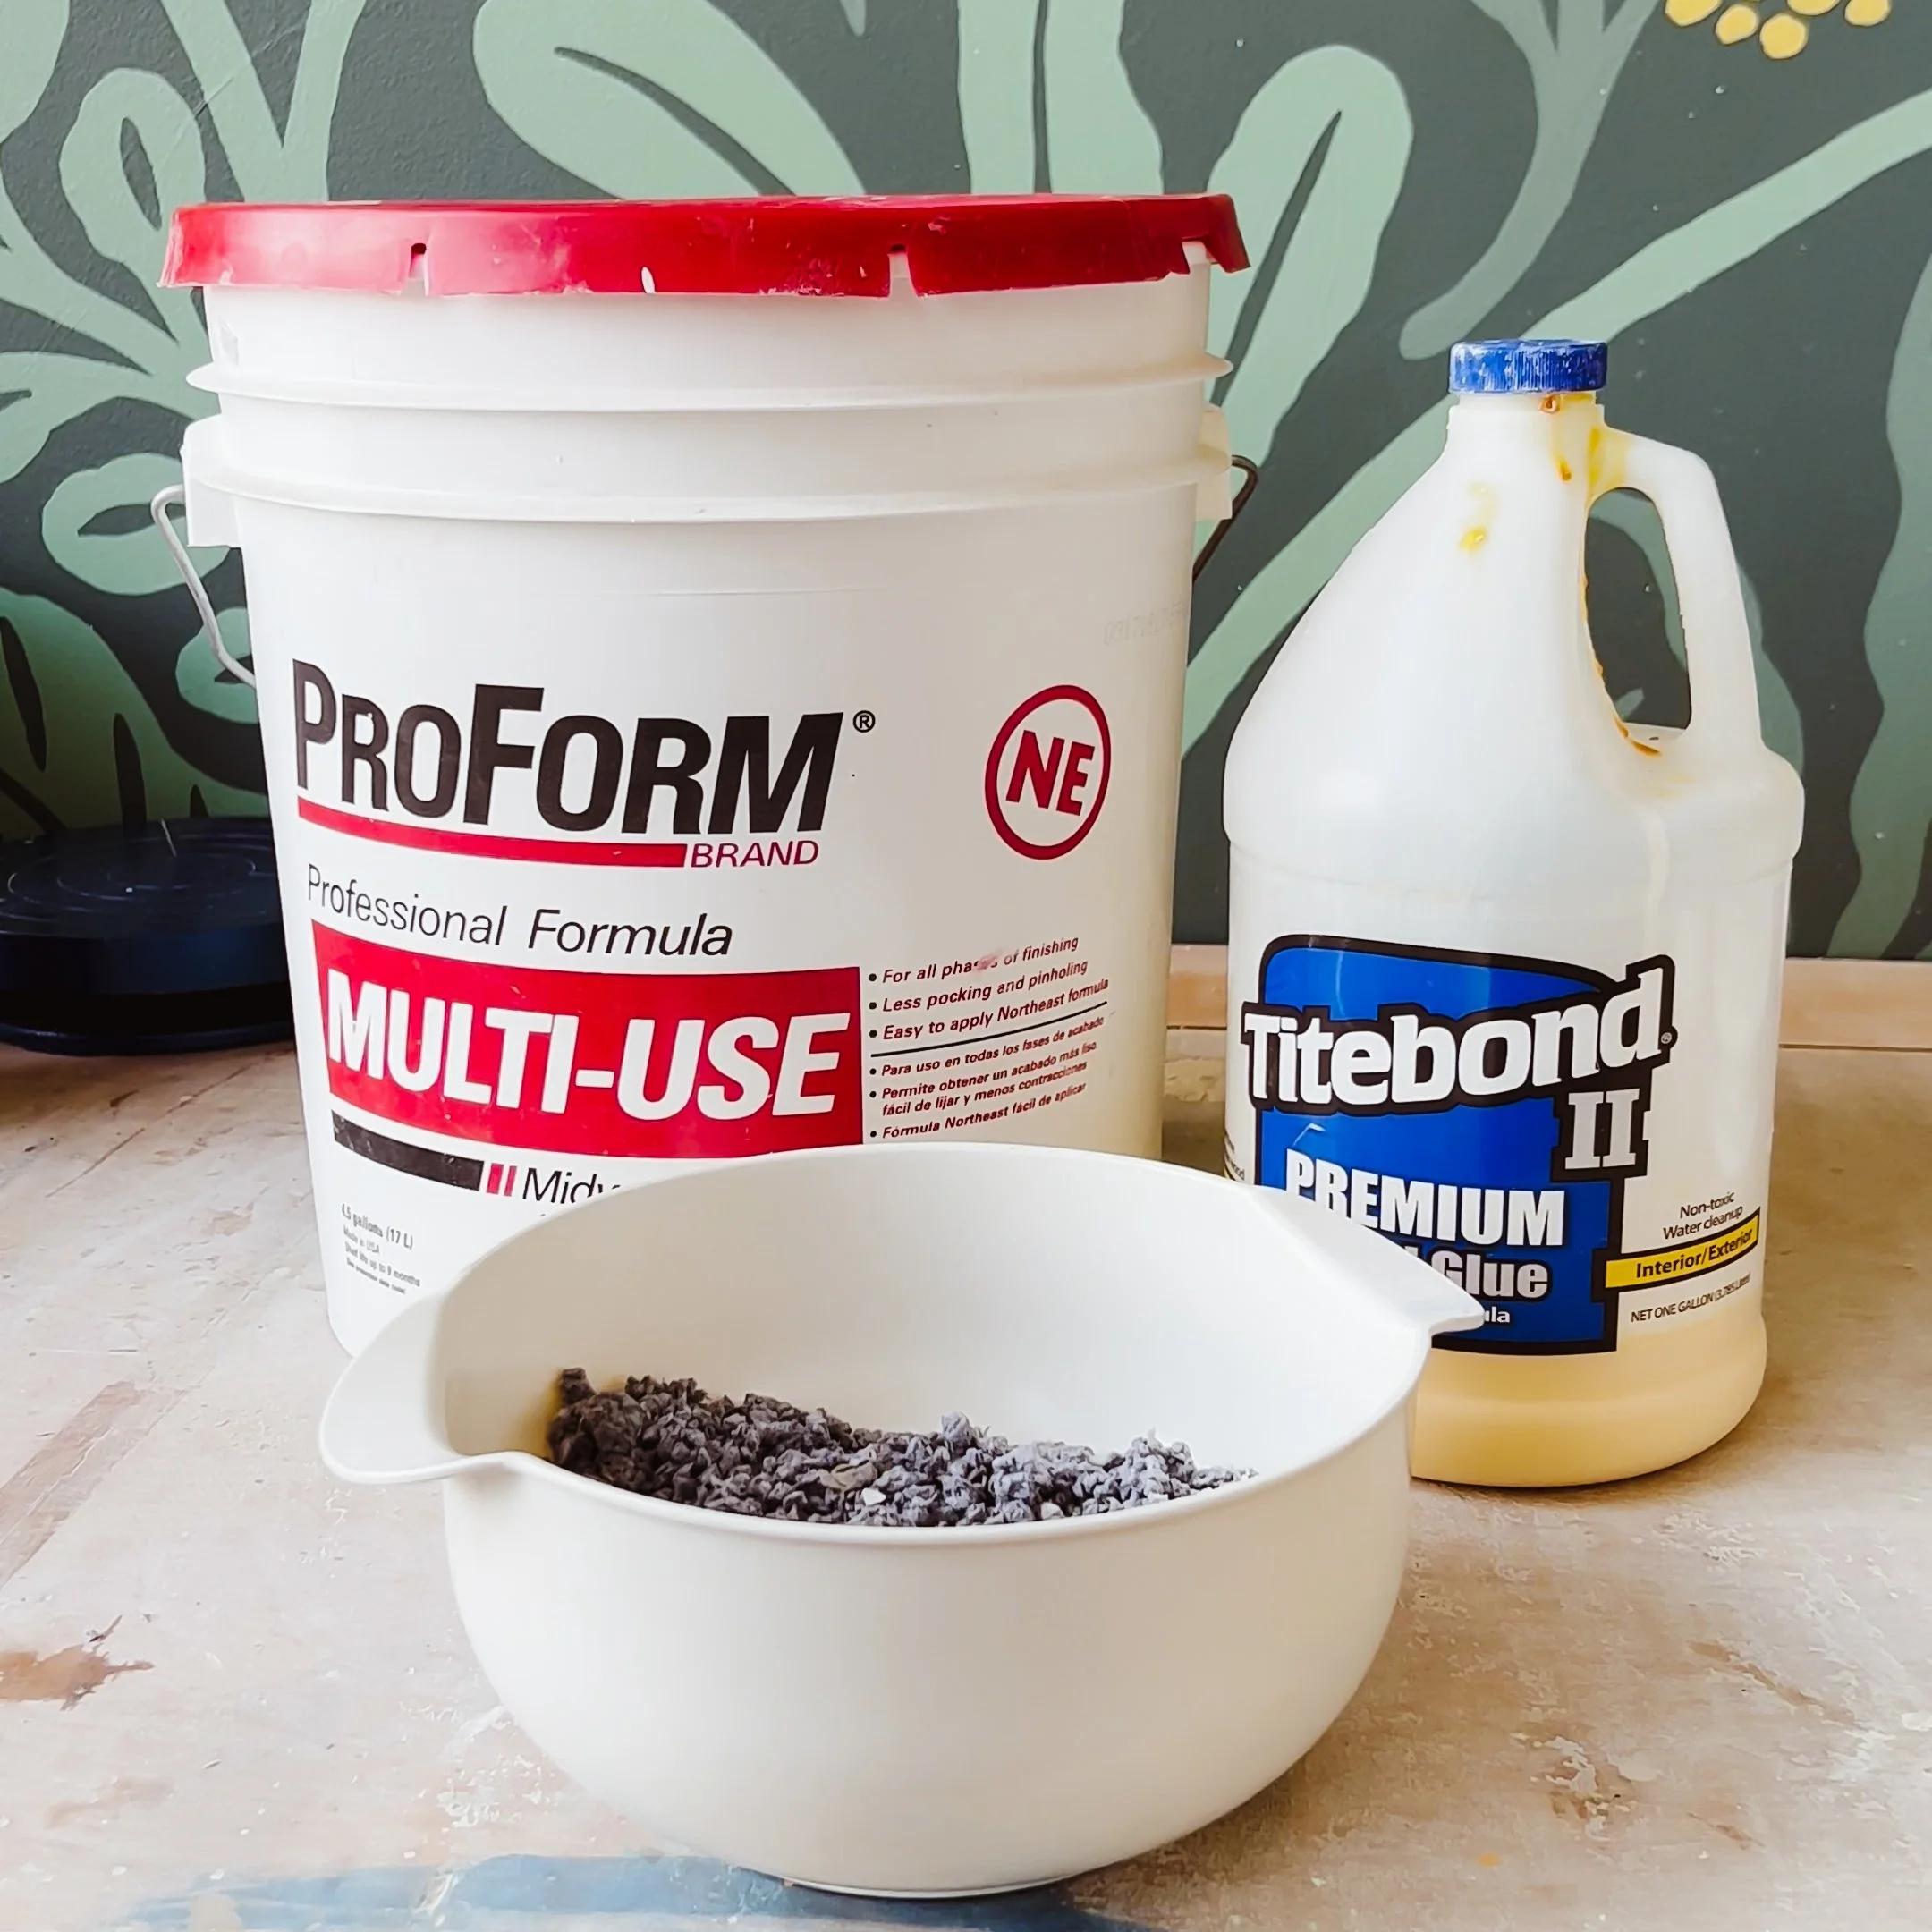
Ingredients
Junk Mail (roughly torn or shredded)
Water
Pre-mixed Joint Compound (I use ProForm)
Wood Glue (I use TiteBond)
Equipment
Two 5 gallon buckets
Colander (or strainer)
Power drill with paint-mixing attachment (or blender)
Measuring cup (unit to scoop with)
Bowl
Paint stirrer or large spoon to mix with
Nitrile gloves to protect your hands
Part 1: Making the Paper Pulp
Before you can make the paper clay, you need paper pulp. In order to break your junk mail down into pulp, you need to soak it in water. Here’s my process for turning paper scraps into pulp. Feel free to adapt it depending on your schedule, tools, and space. There’s really no wrong way to do it as long as you break down the paper fibers into mush and strain the water out.
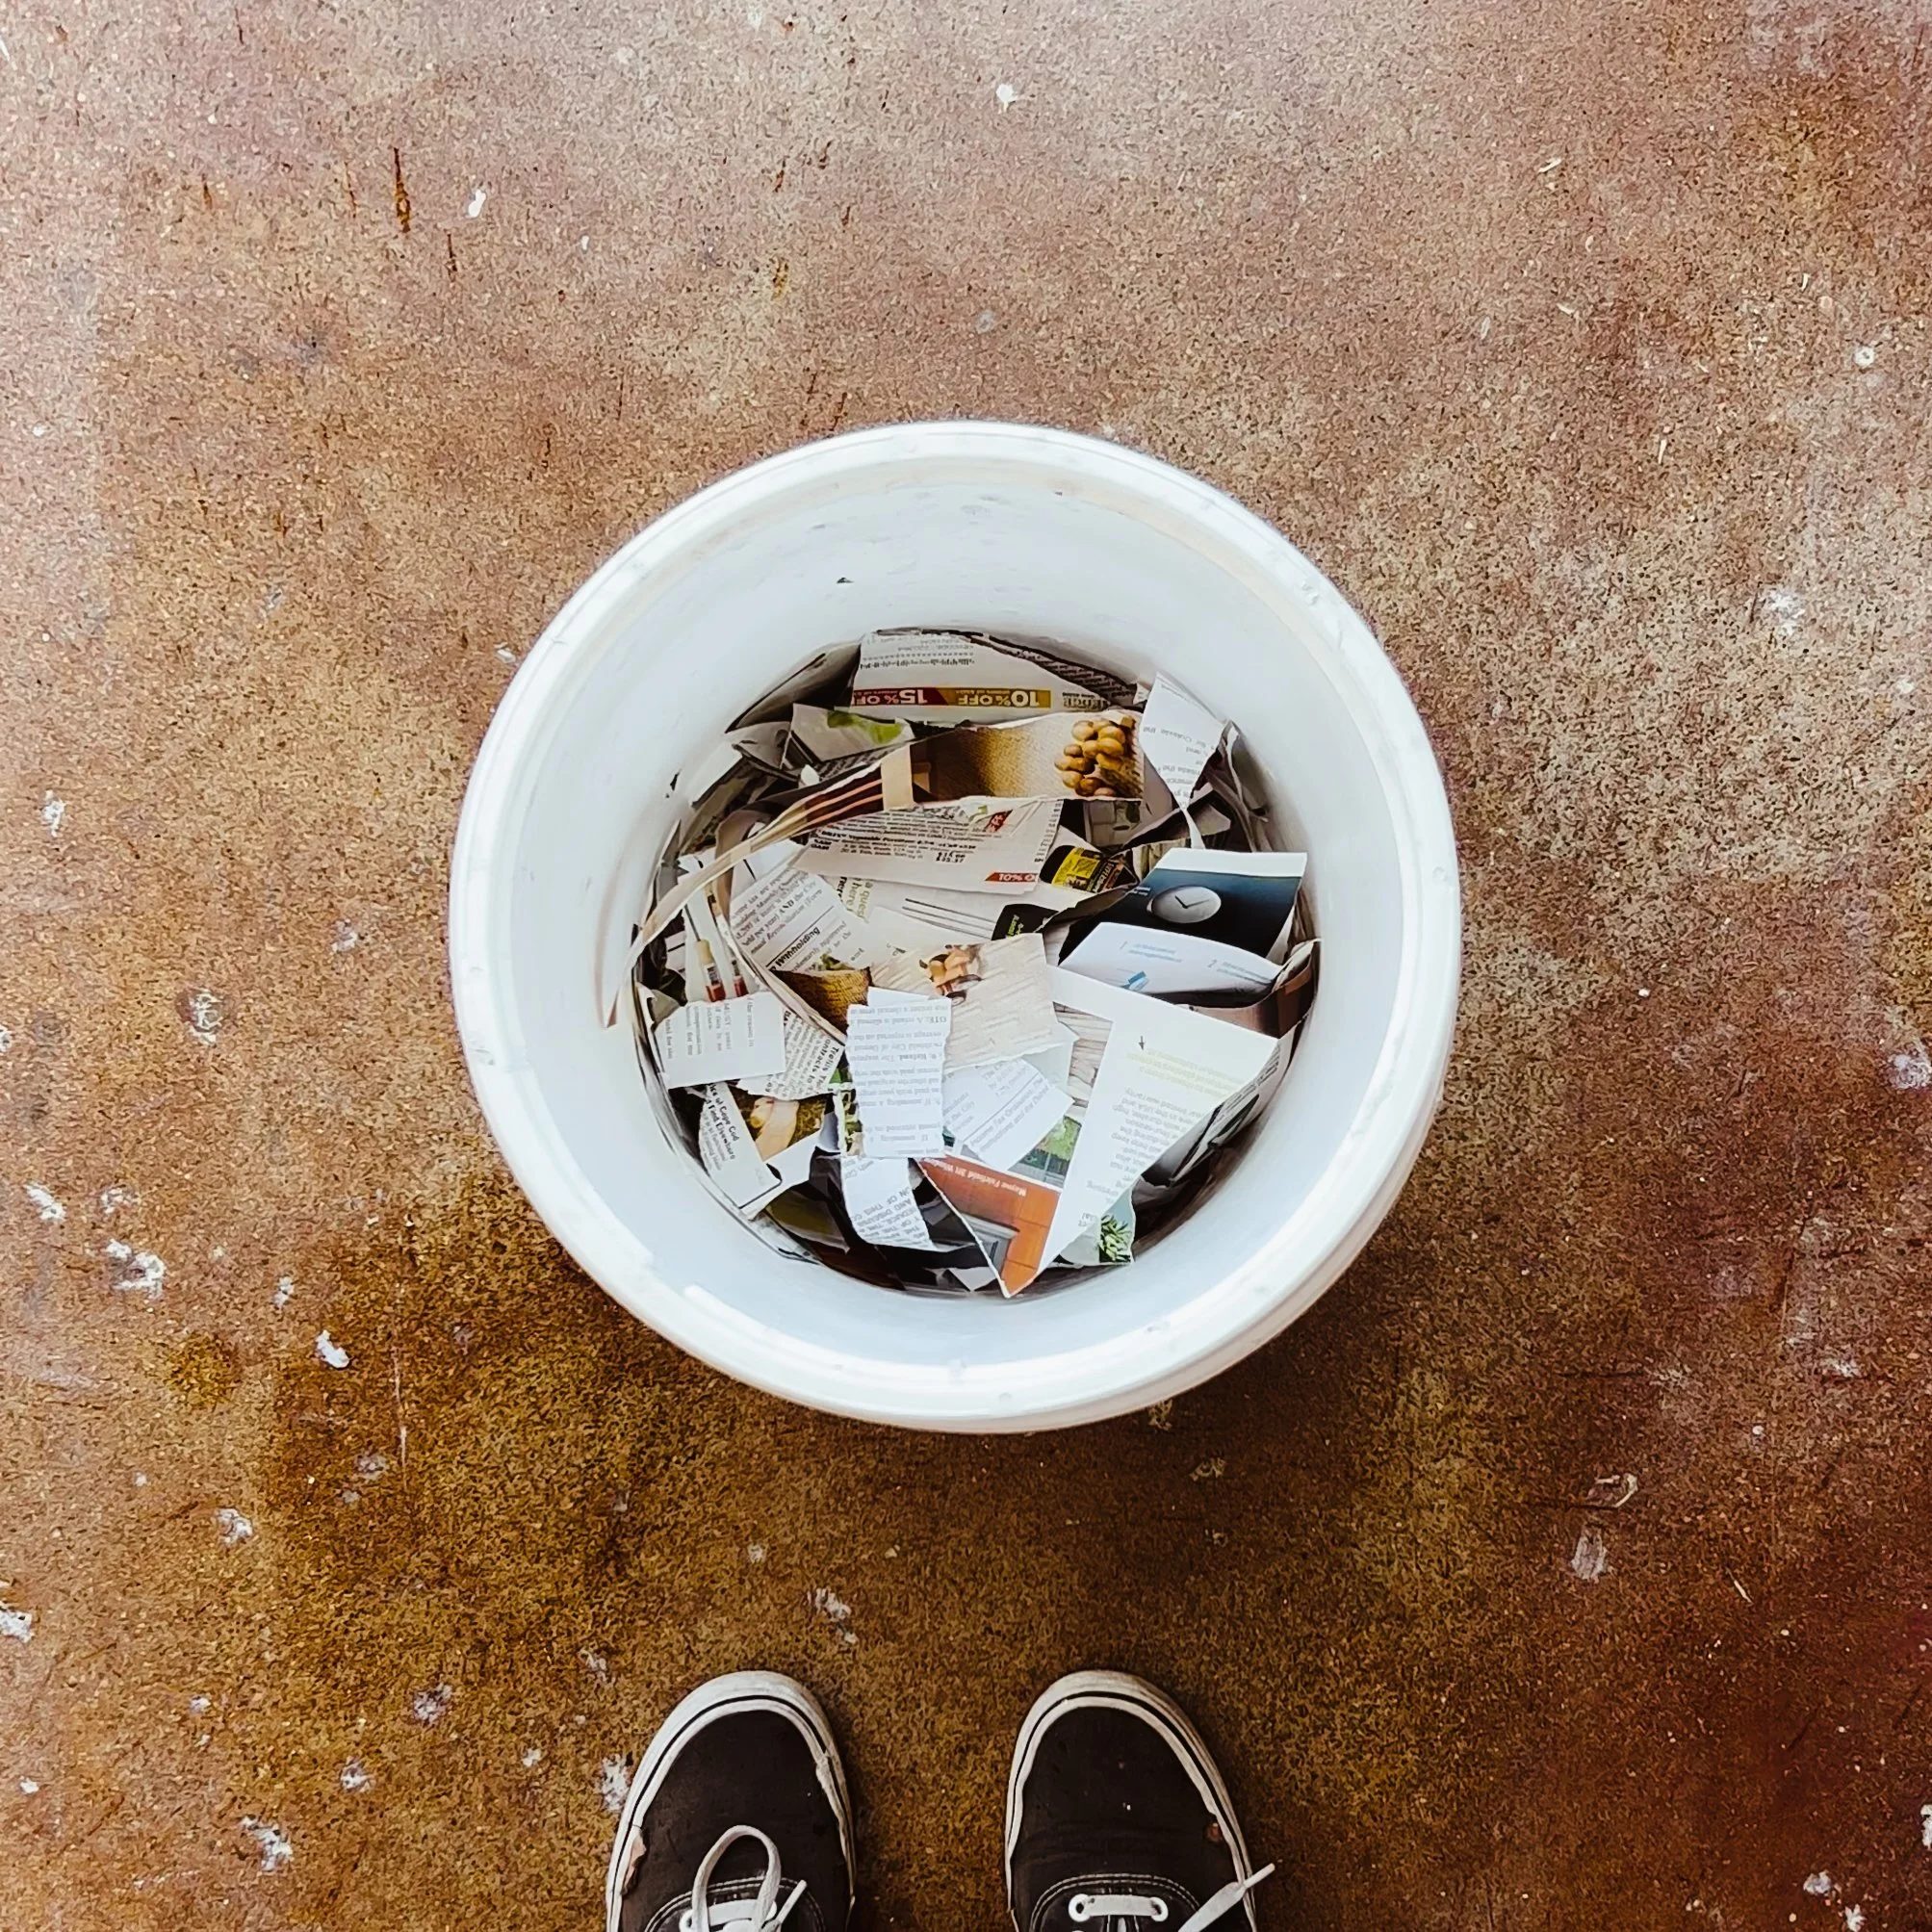
1. Roughly tear
up junk mail into bucket
Fill 1/4th of the bucket with loosely shredded mail (exclude plastic windows and staples). I shred mine by hand, but if you have a paper shredded, that’ll be easier.
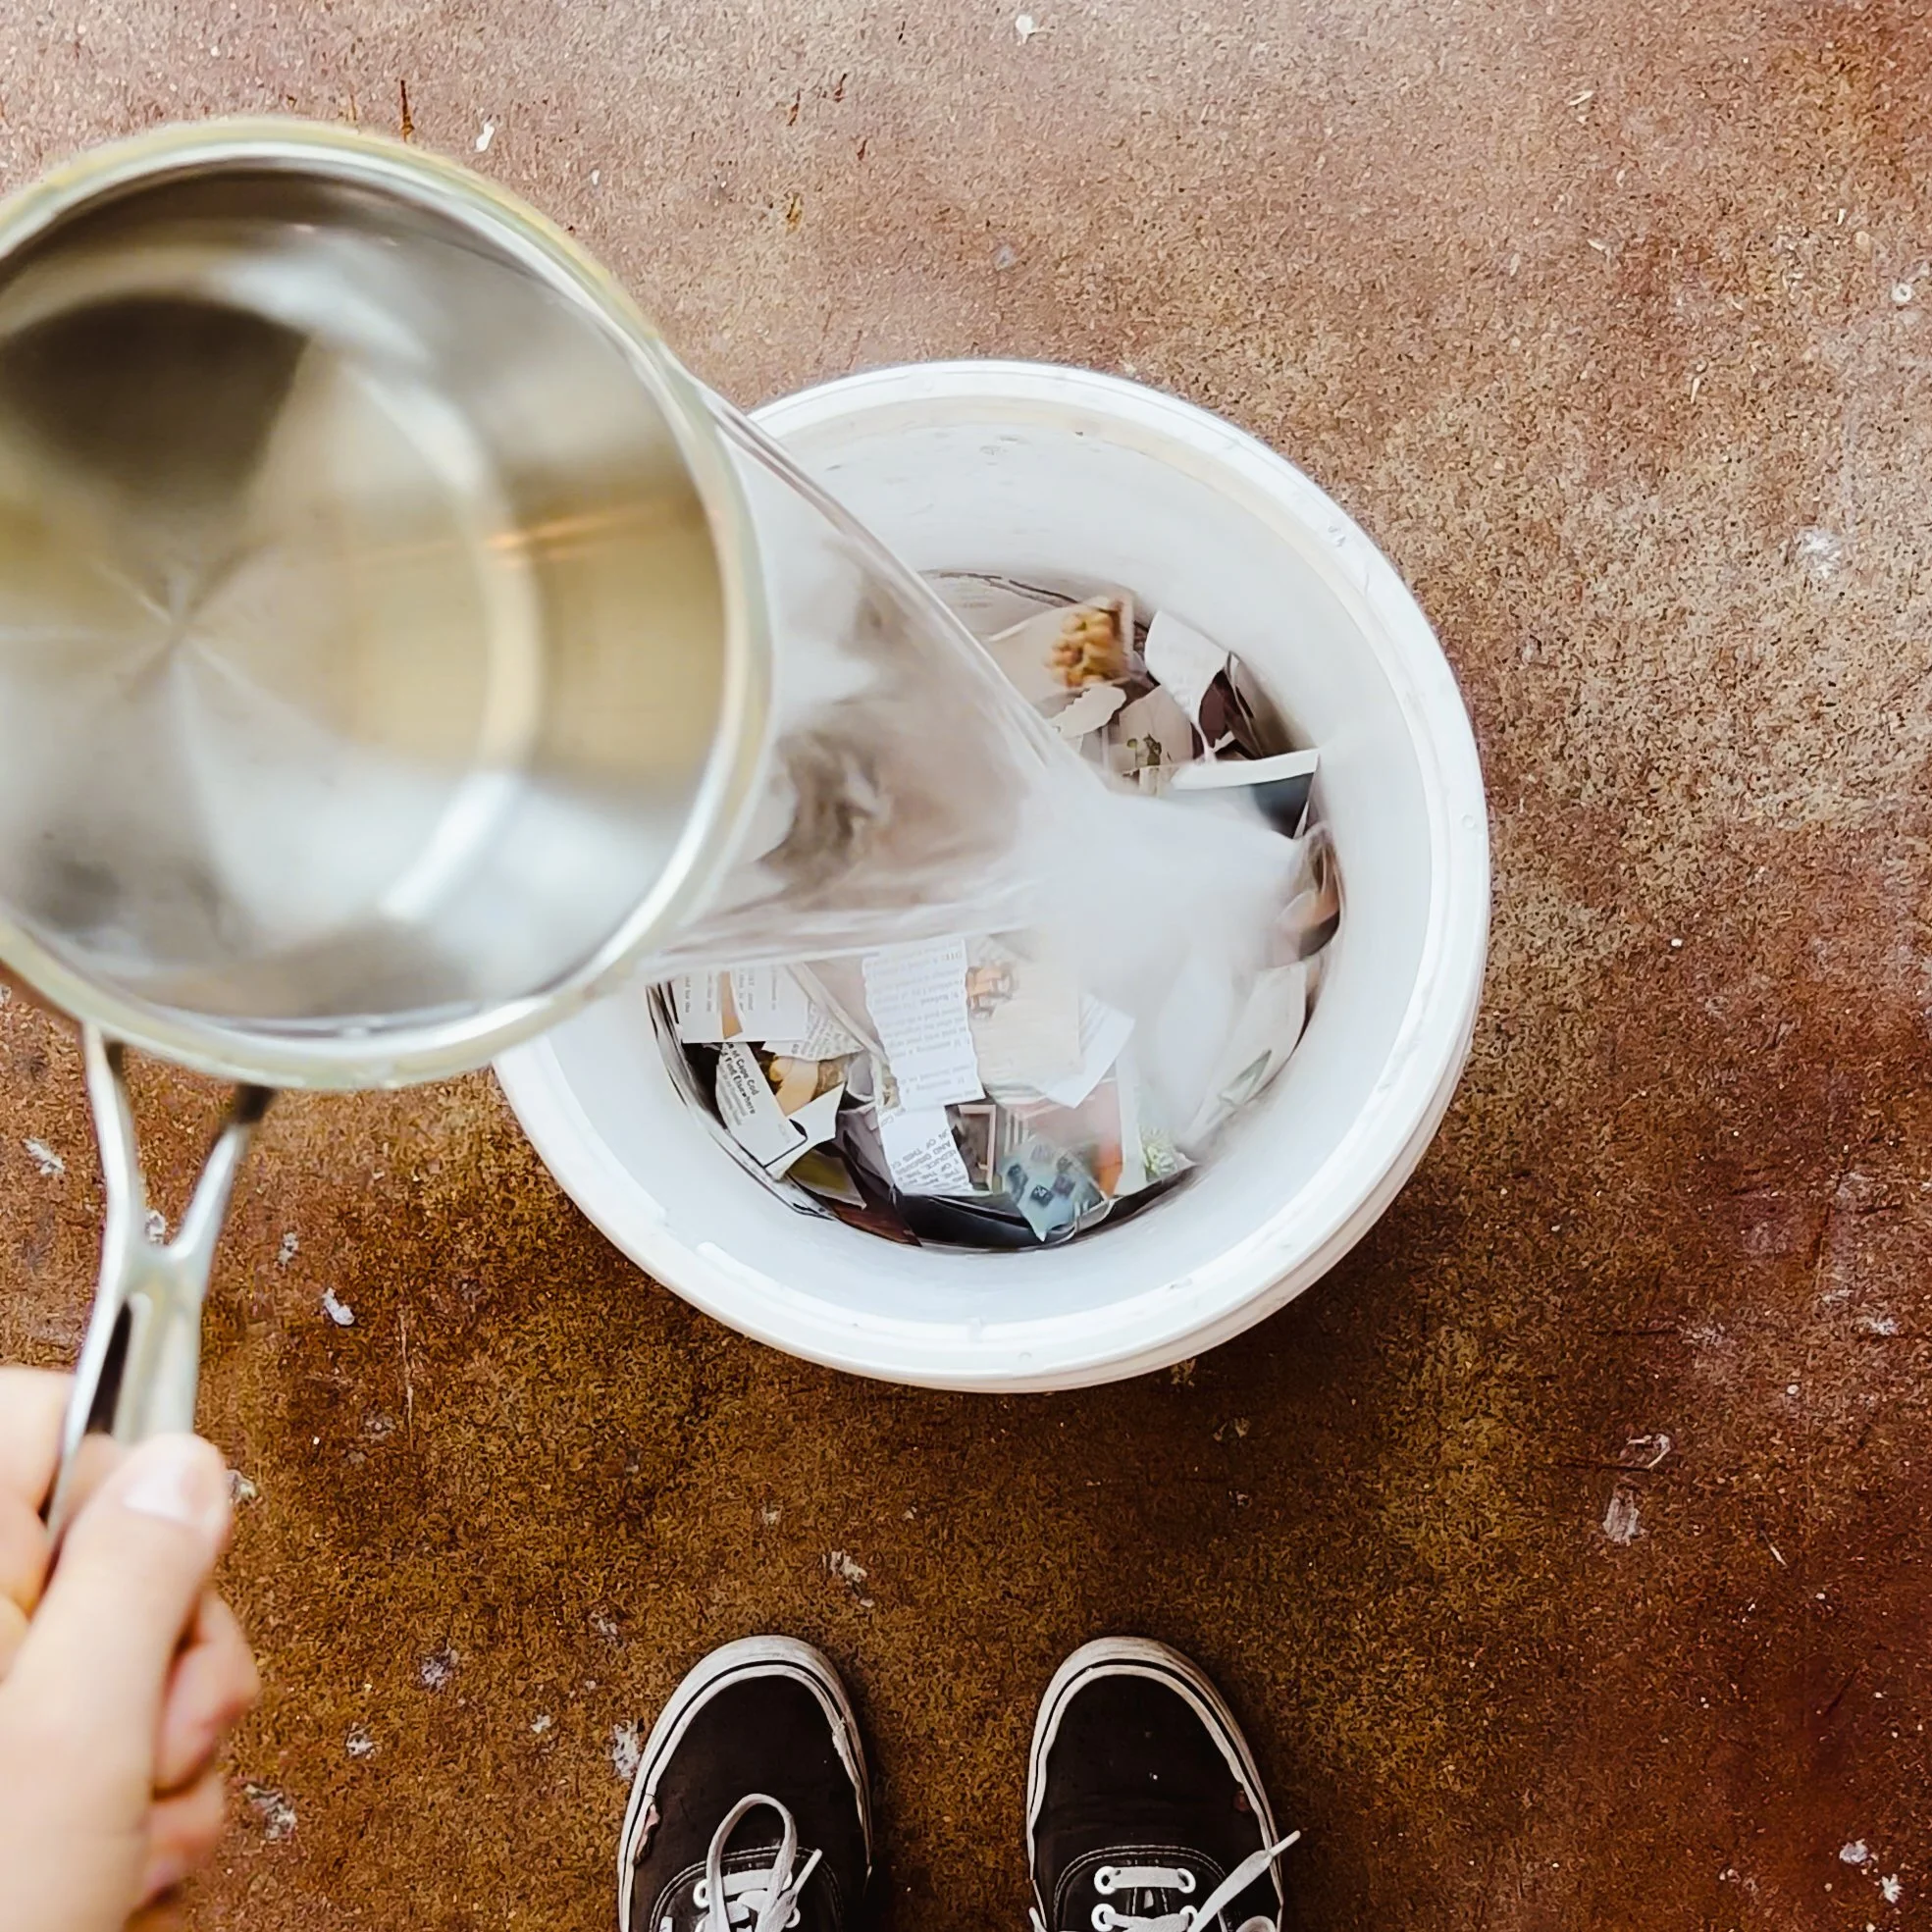
2. Pour water over mail to soak and soften
Quick method: Boil water and pour over mail. Let sit 30 min.
Long method: Tap water + let sit overnight.
(Err on the side of more water than less.)
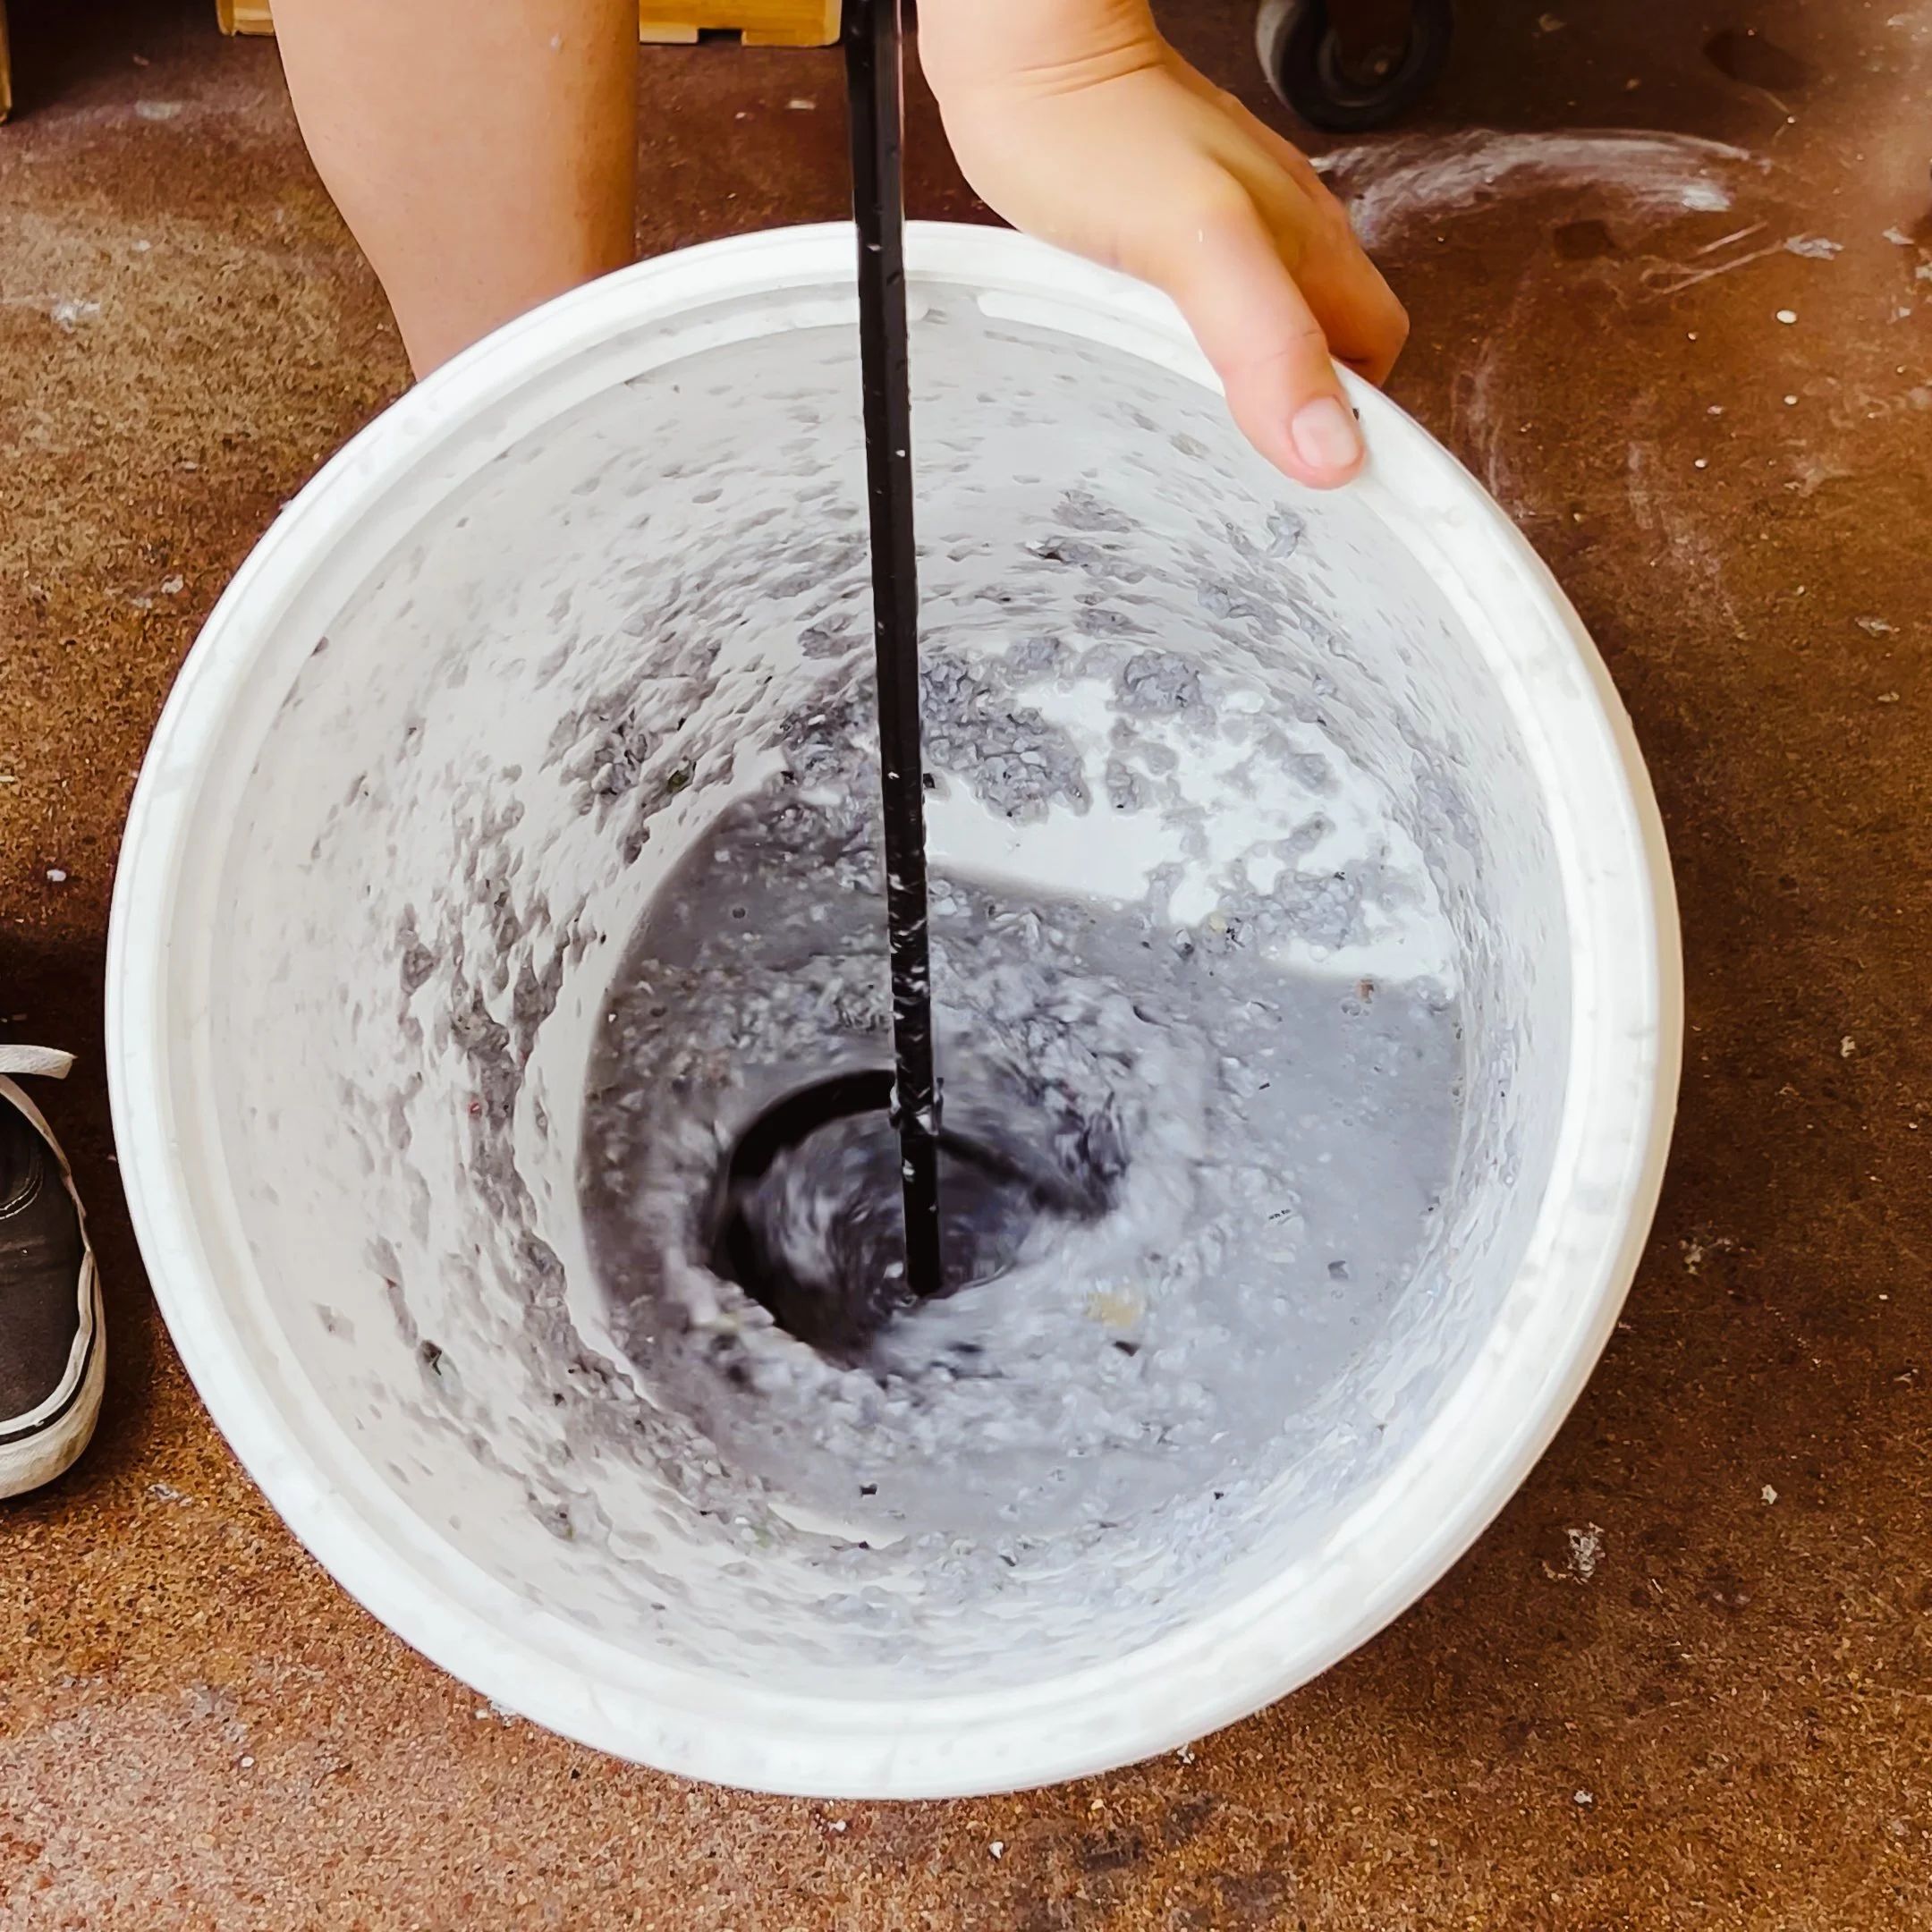
3. Use paint mixer drill attachment to ‘blend’ the paper soup into a pulp
You can also use blender or food processor in batches, but it might break your appliance so be forewarned (lol).
Mashing with a kitchen whisk may work too, but it’ll probably be CHUNKY.
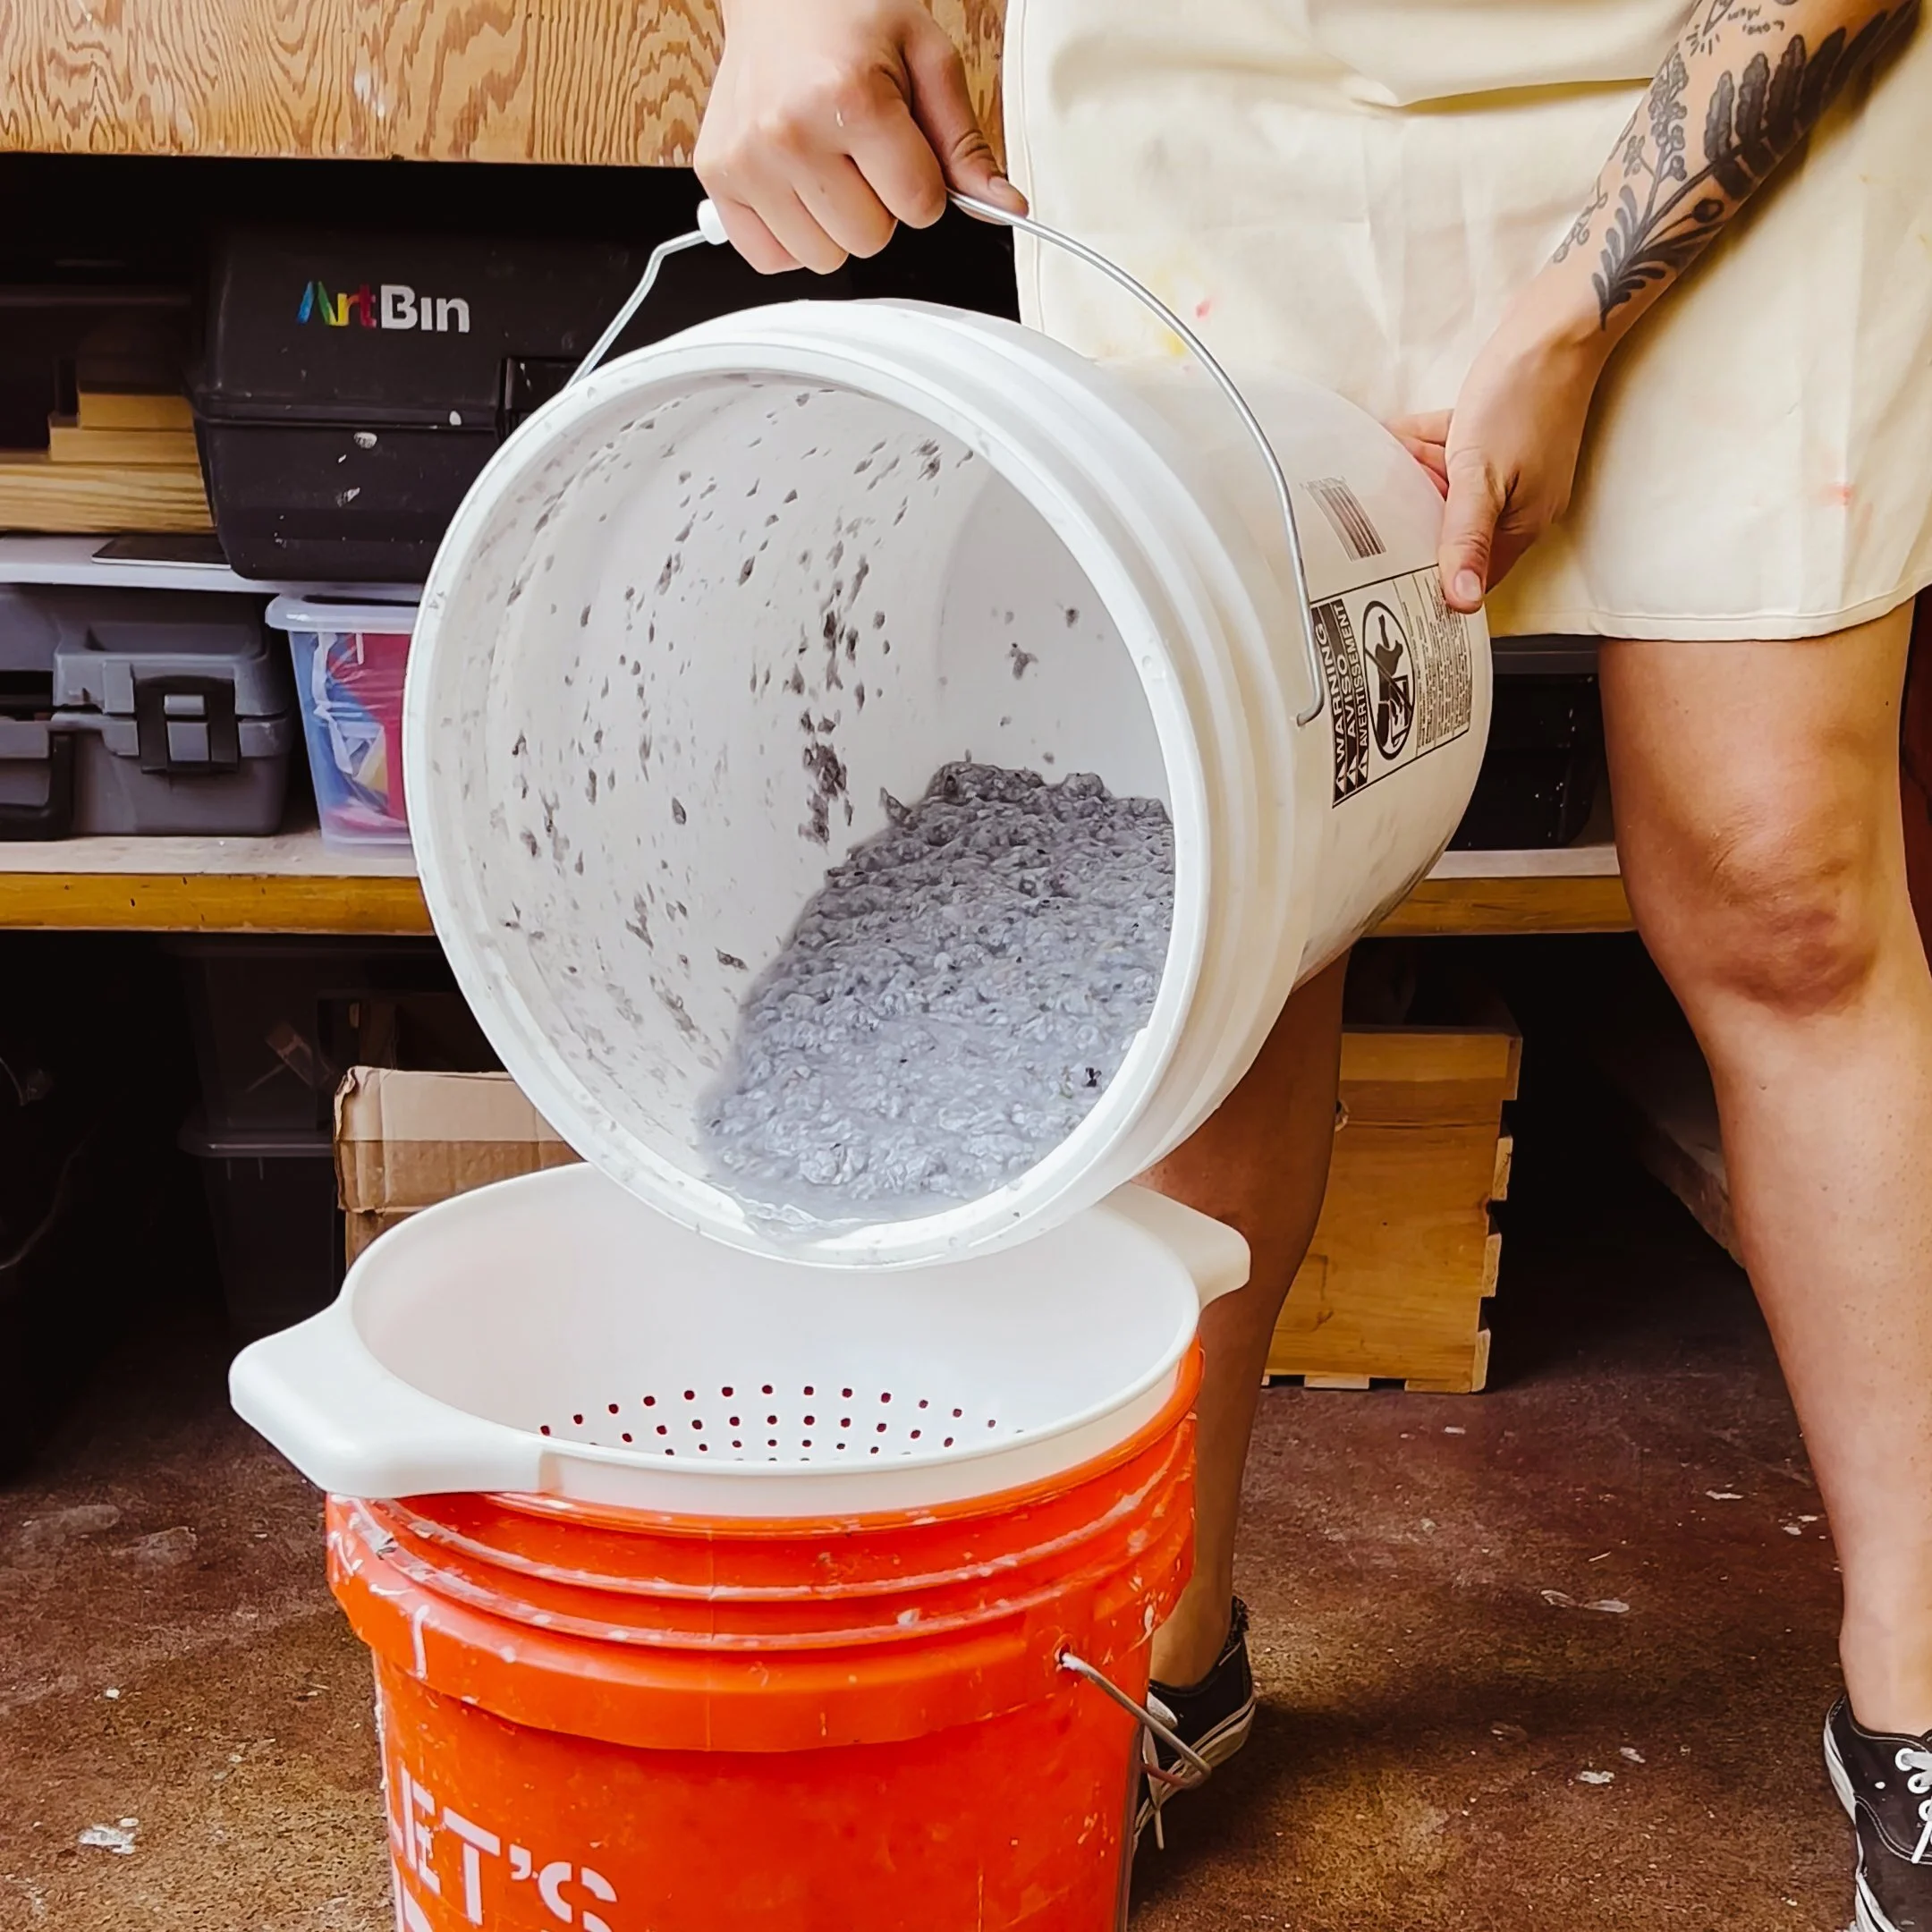
4. Drain Water from pulp with Colander
You can also do so with a mesh strainer, kitchen towel, or by wringing it out with your hands.
The goal with the paper pulp is to remove most (but not all) of the water. The final texture should be crumbly (like taco meat).

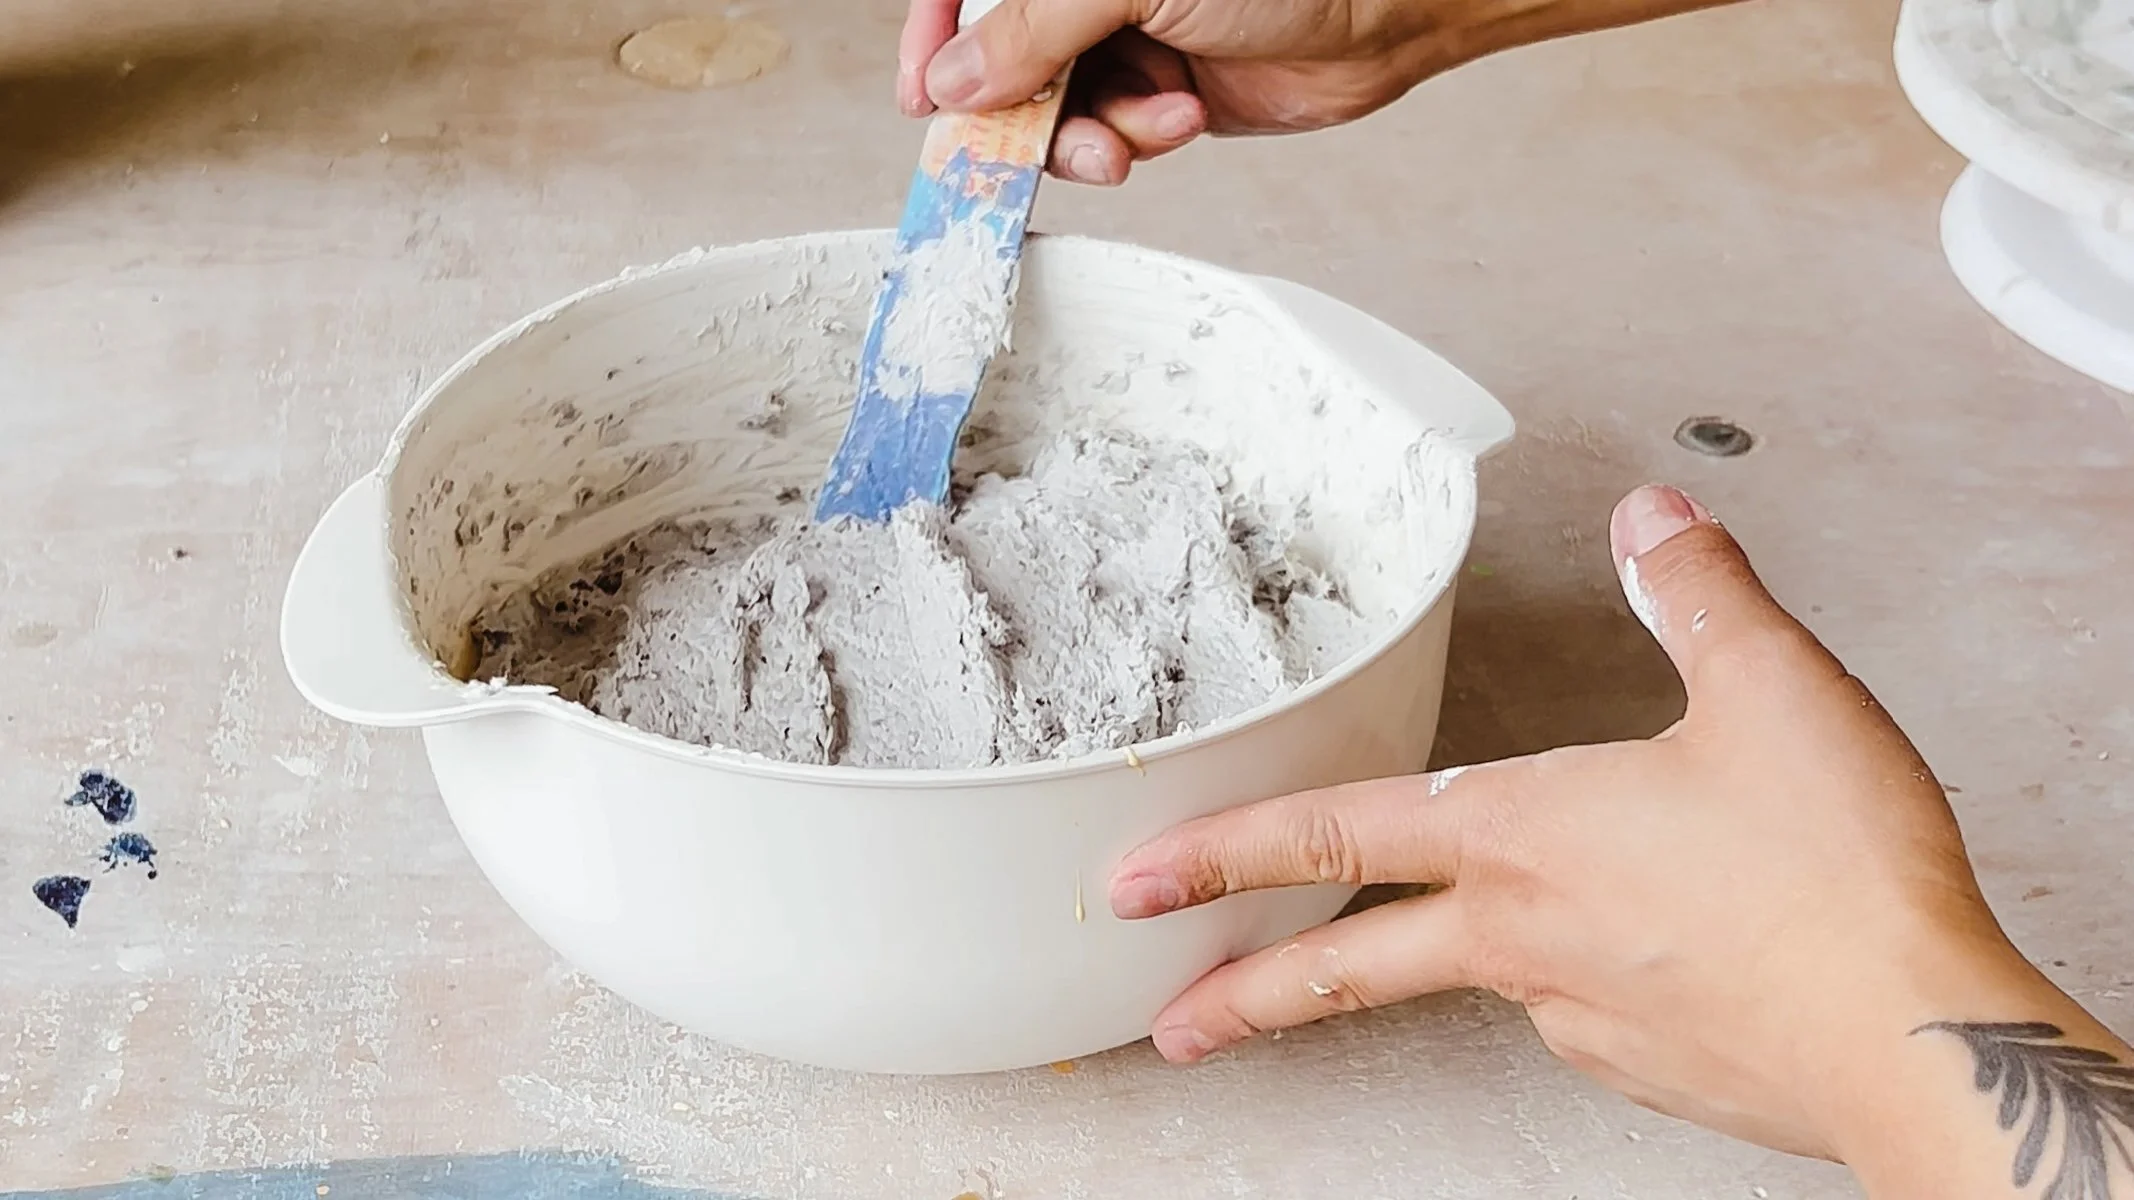
Step 2: The Paper Clay Recipe
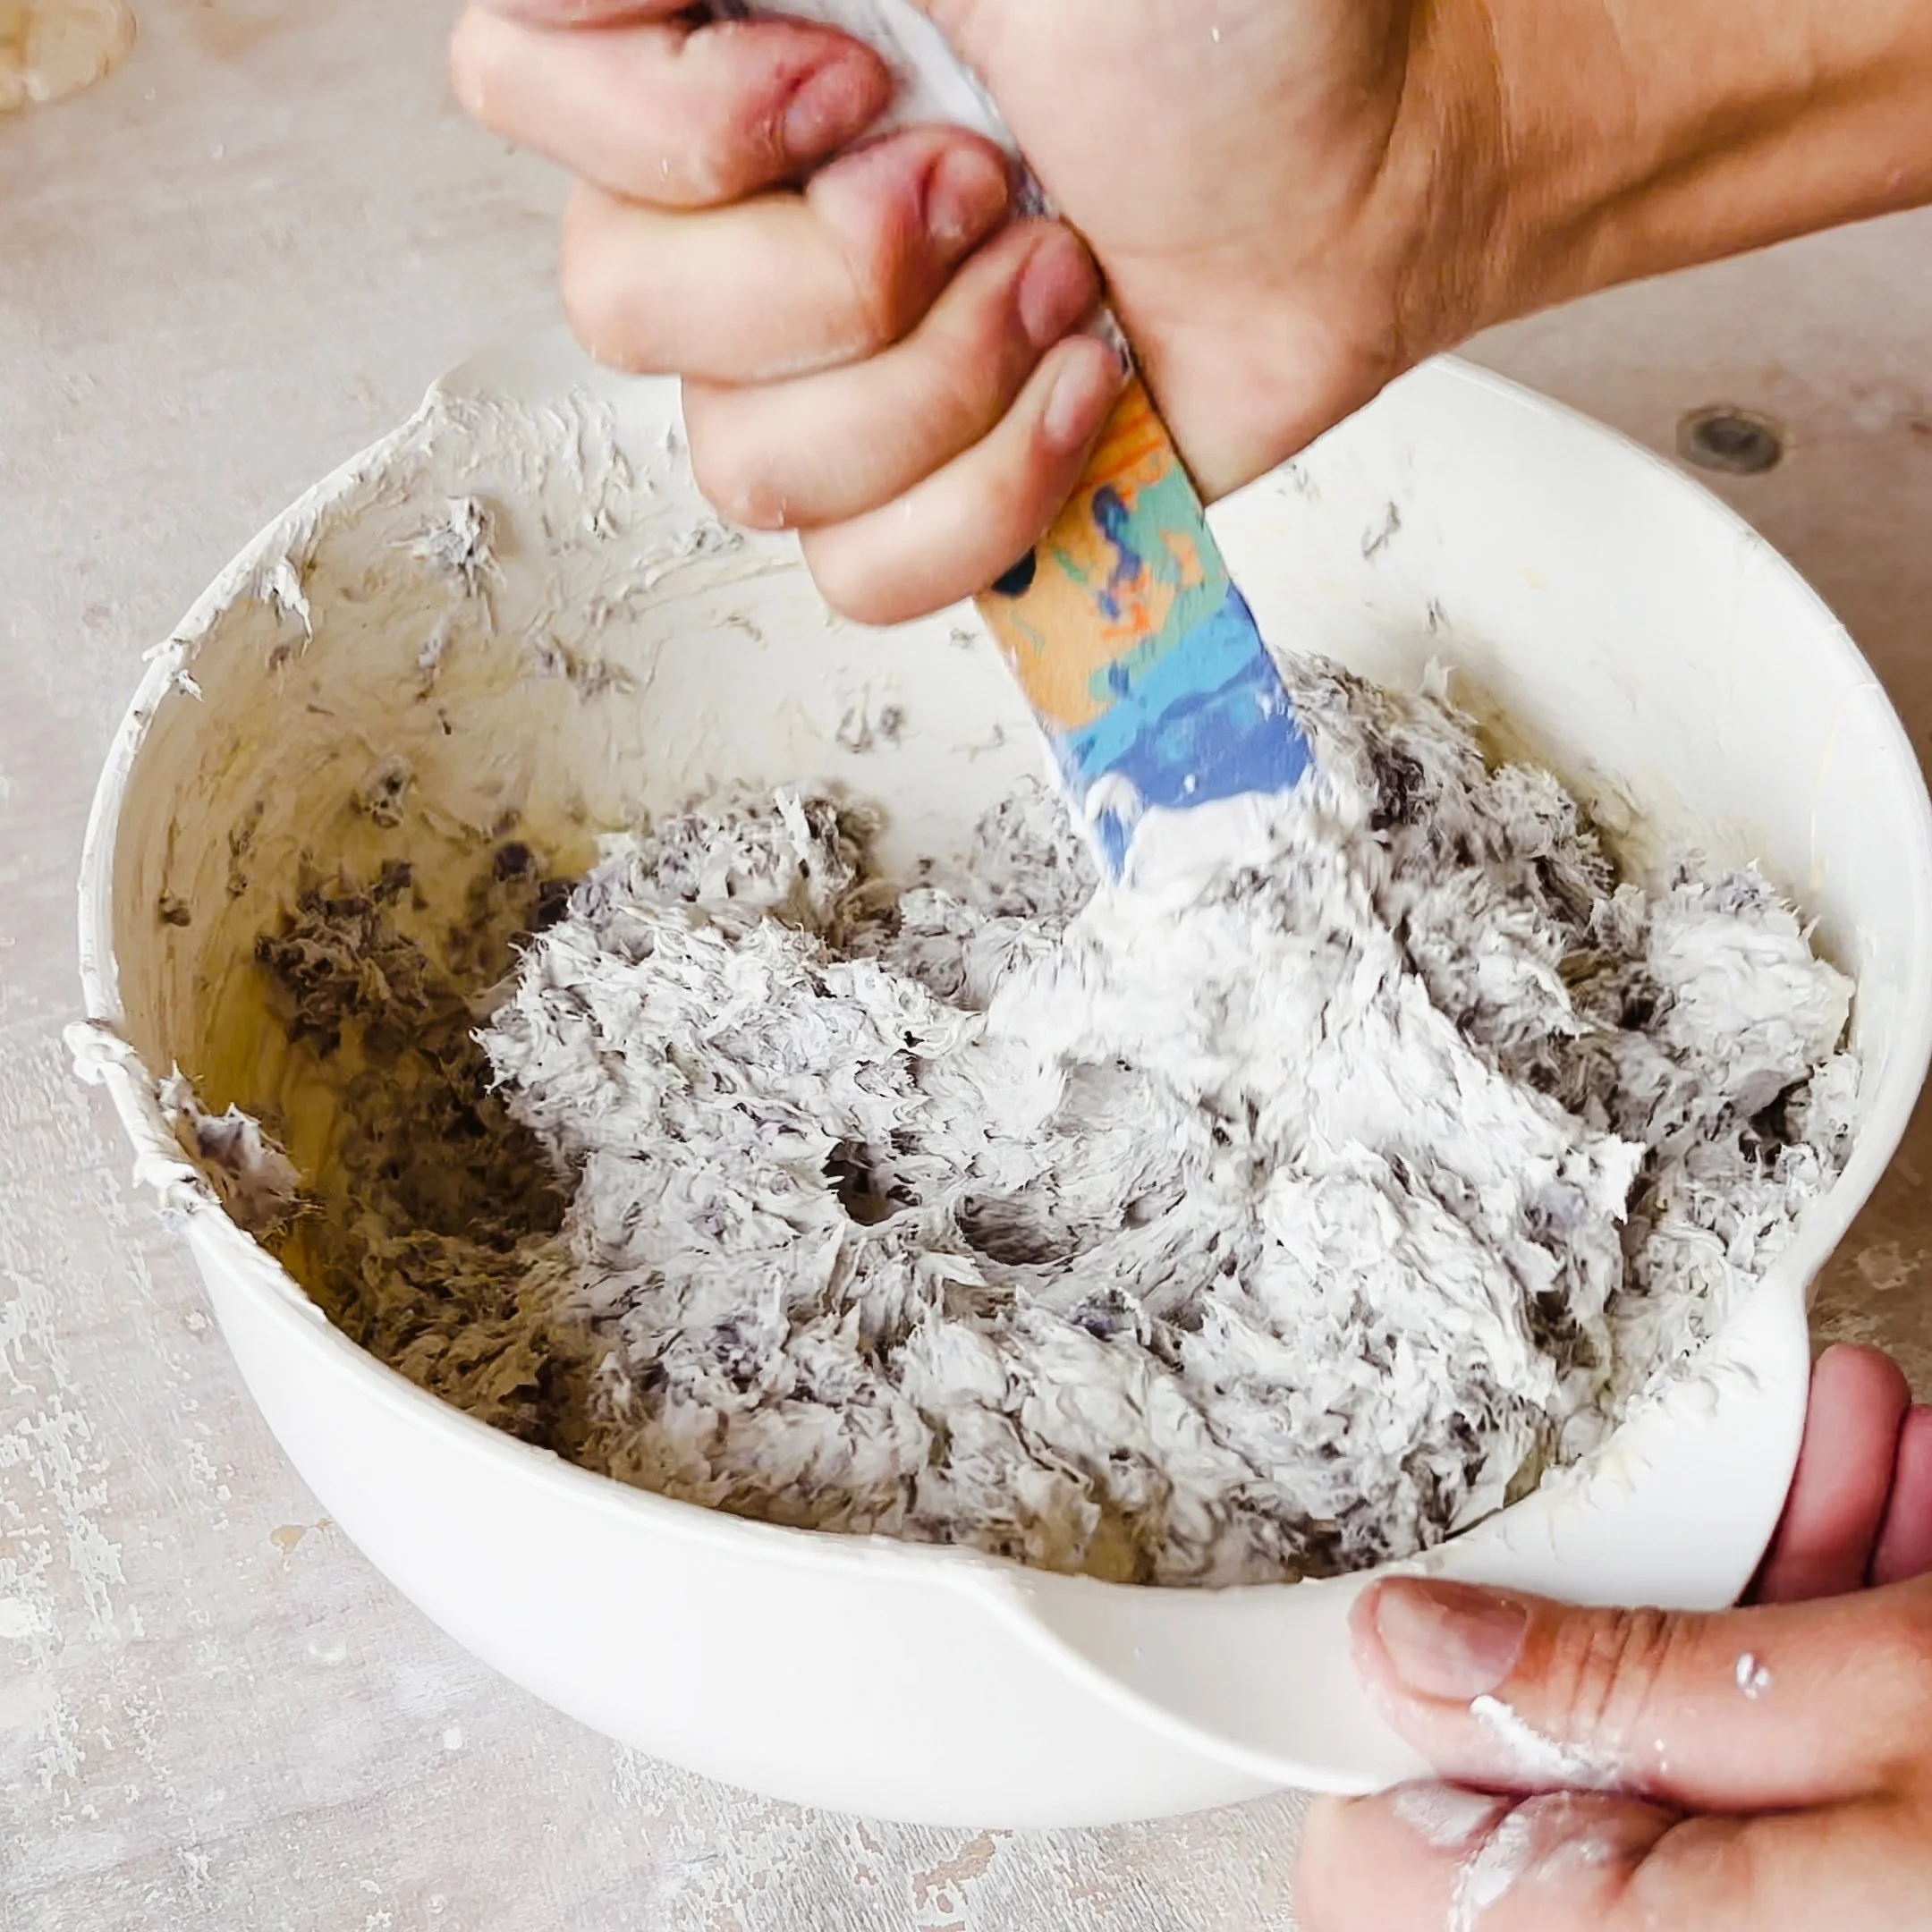
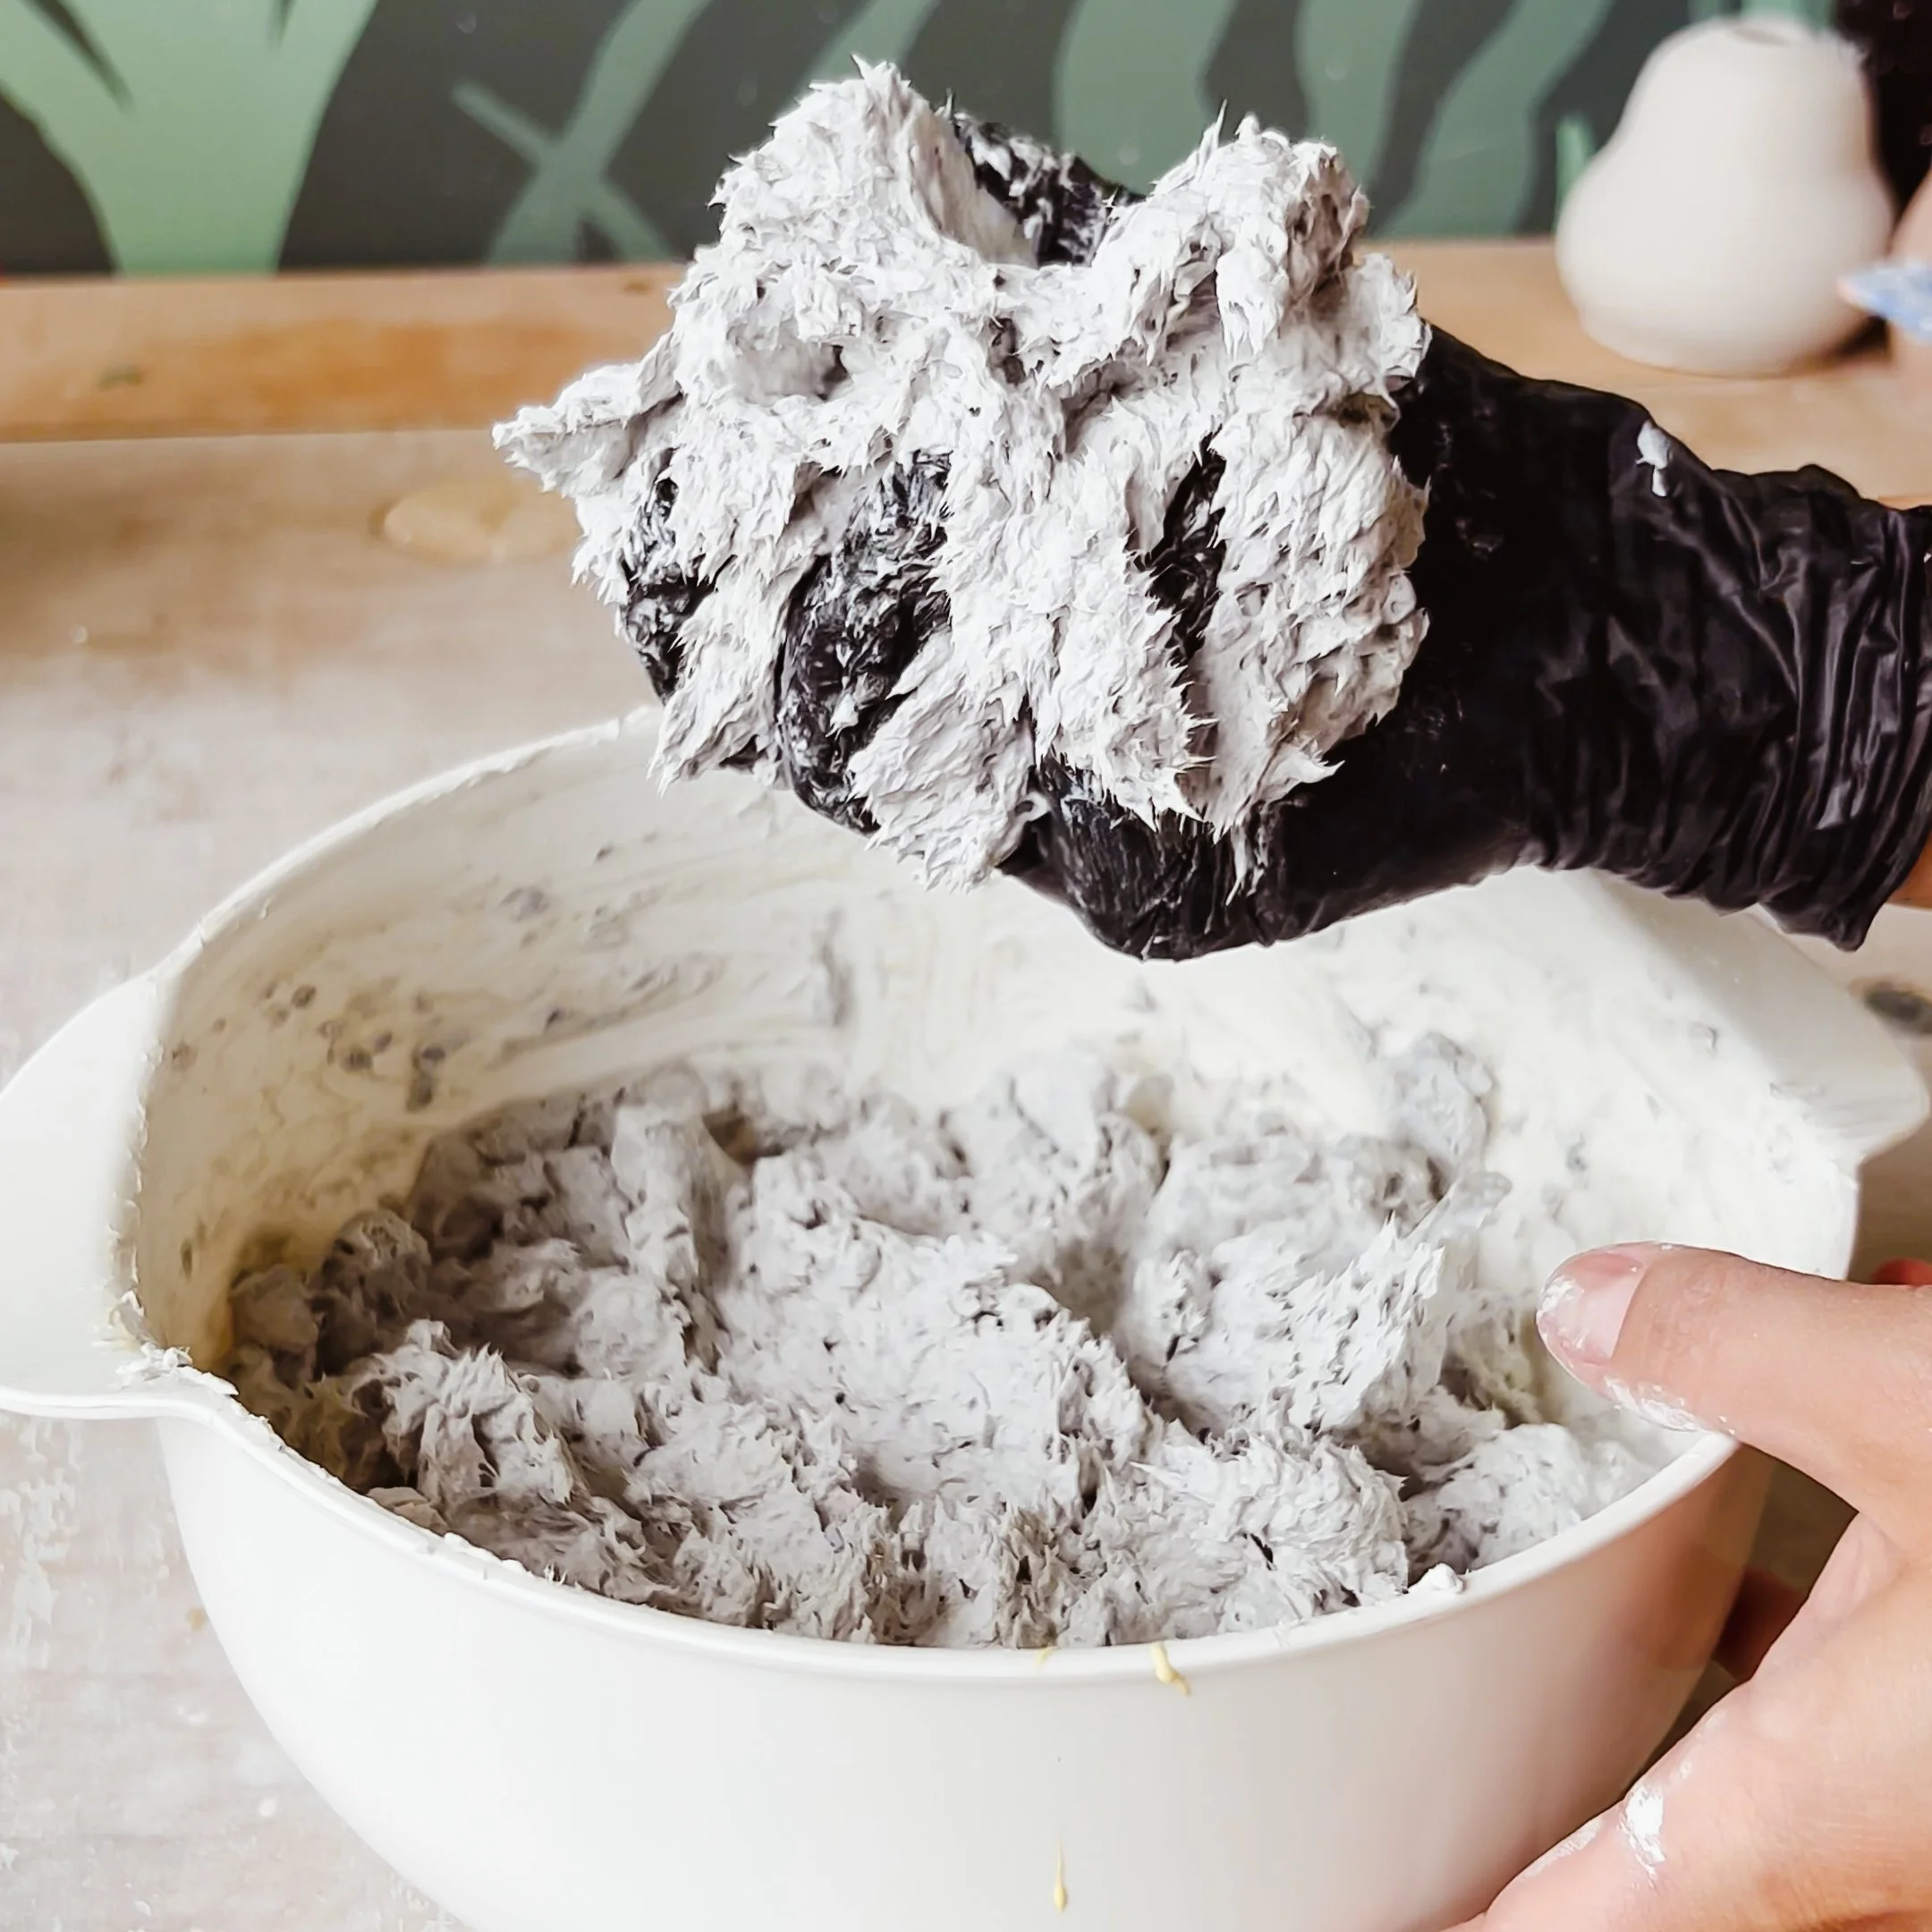
I almost felt silly calling this a recipe because all you have to do is throw everything in a bowl and mash it up. Instead of specific measurements, I decided to use ratios so you can use any scoop or container you want and it’ll work! Good scoop containers include: old food containers, jars, mugs, etc. Don’t be too precious with your measurements either. Even if they’re slightly off, the recipe will still work. You can even adjust it to make it softer or firmer depending on your preference.
Ratios
Four (4) parts paper pulp
Two (2) parts pre-mixed joint compound
One (1) part wood glue
Instructions: Measure ingredients and add them to a large bowl. Mix well until thoroughly incorporated and the consistency of a nice tuna salad hahaha.
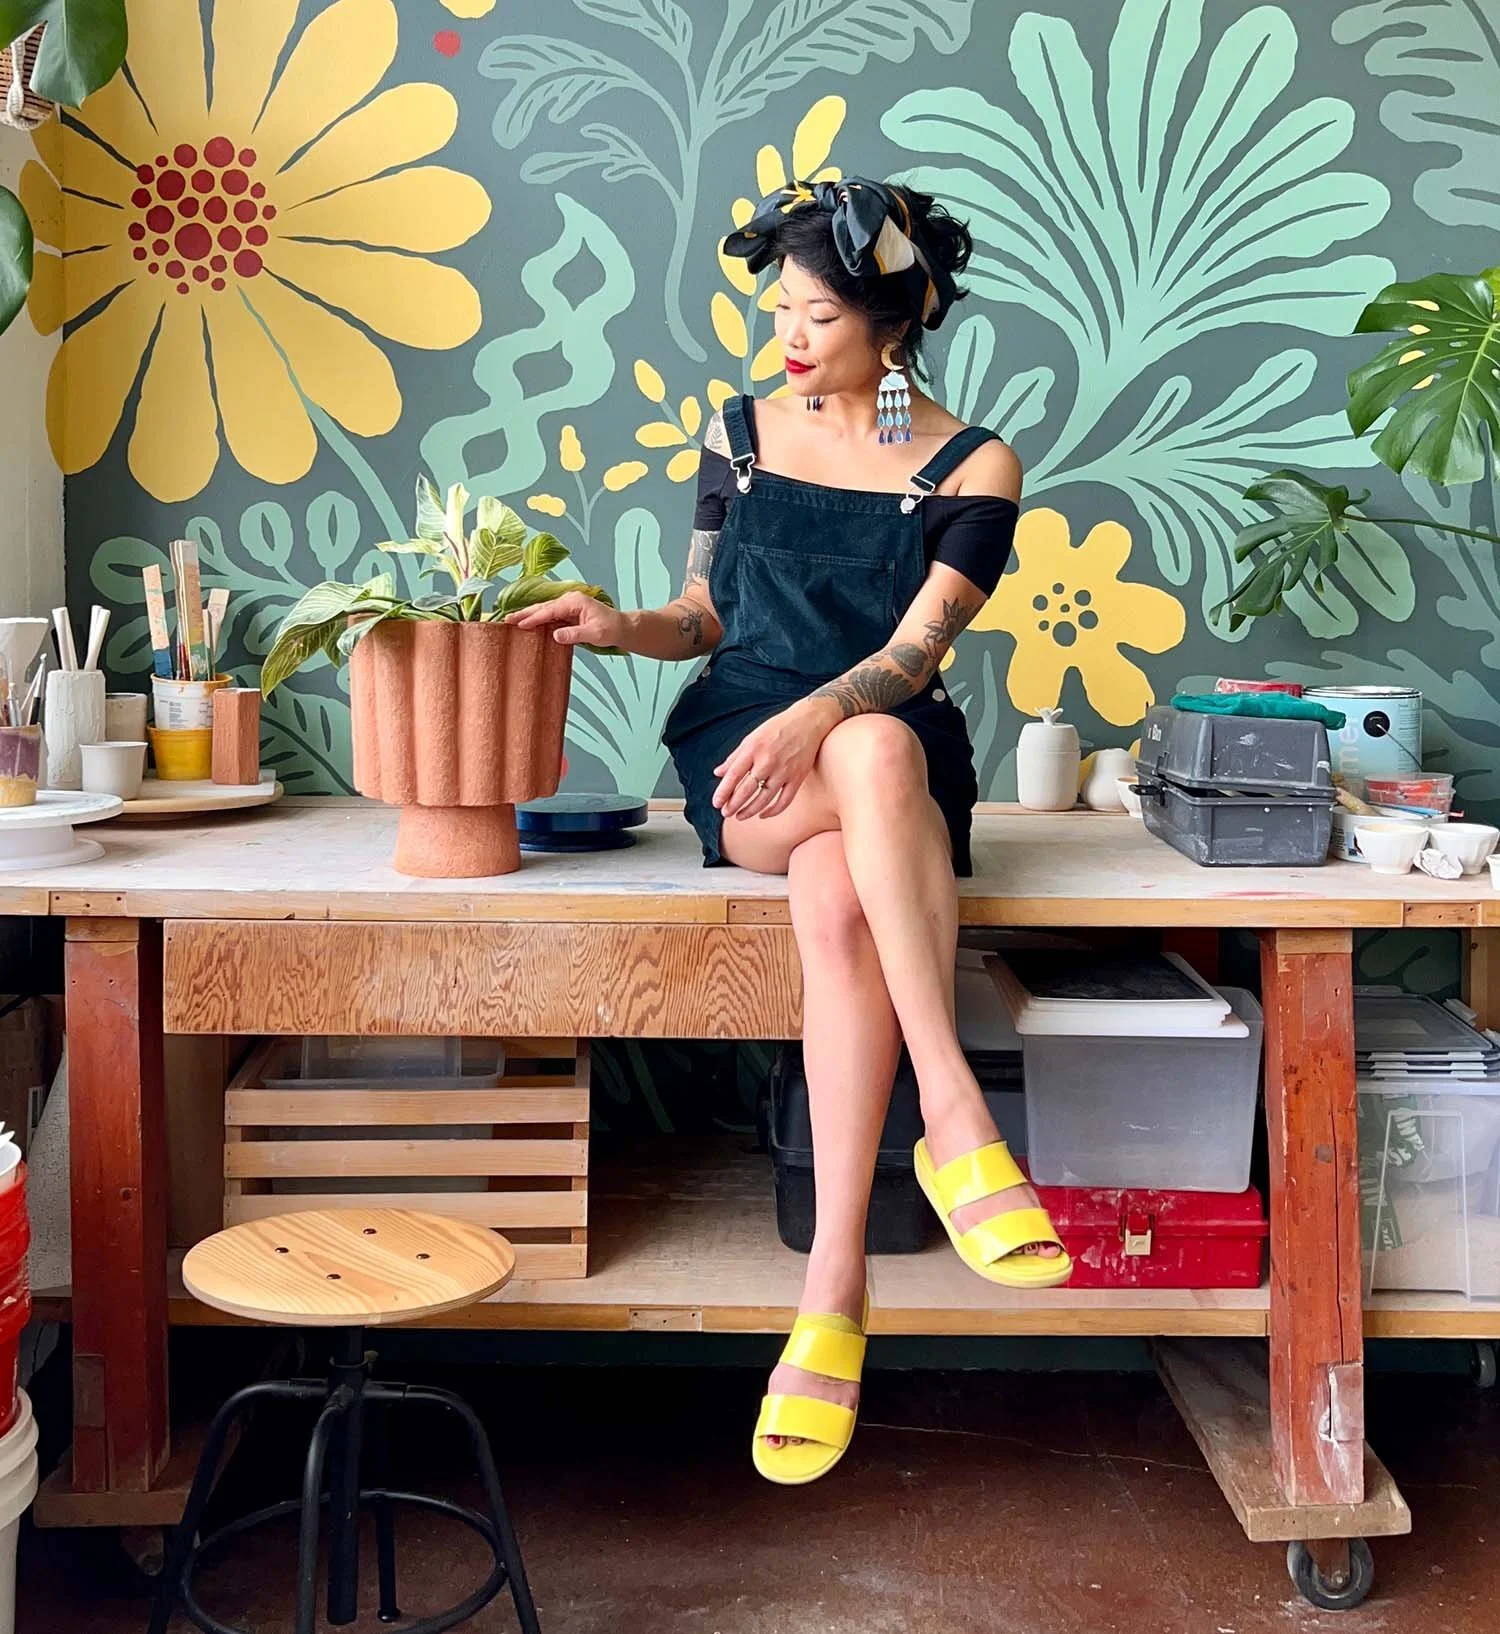
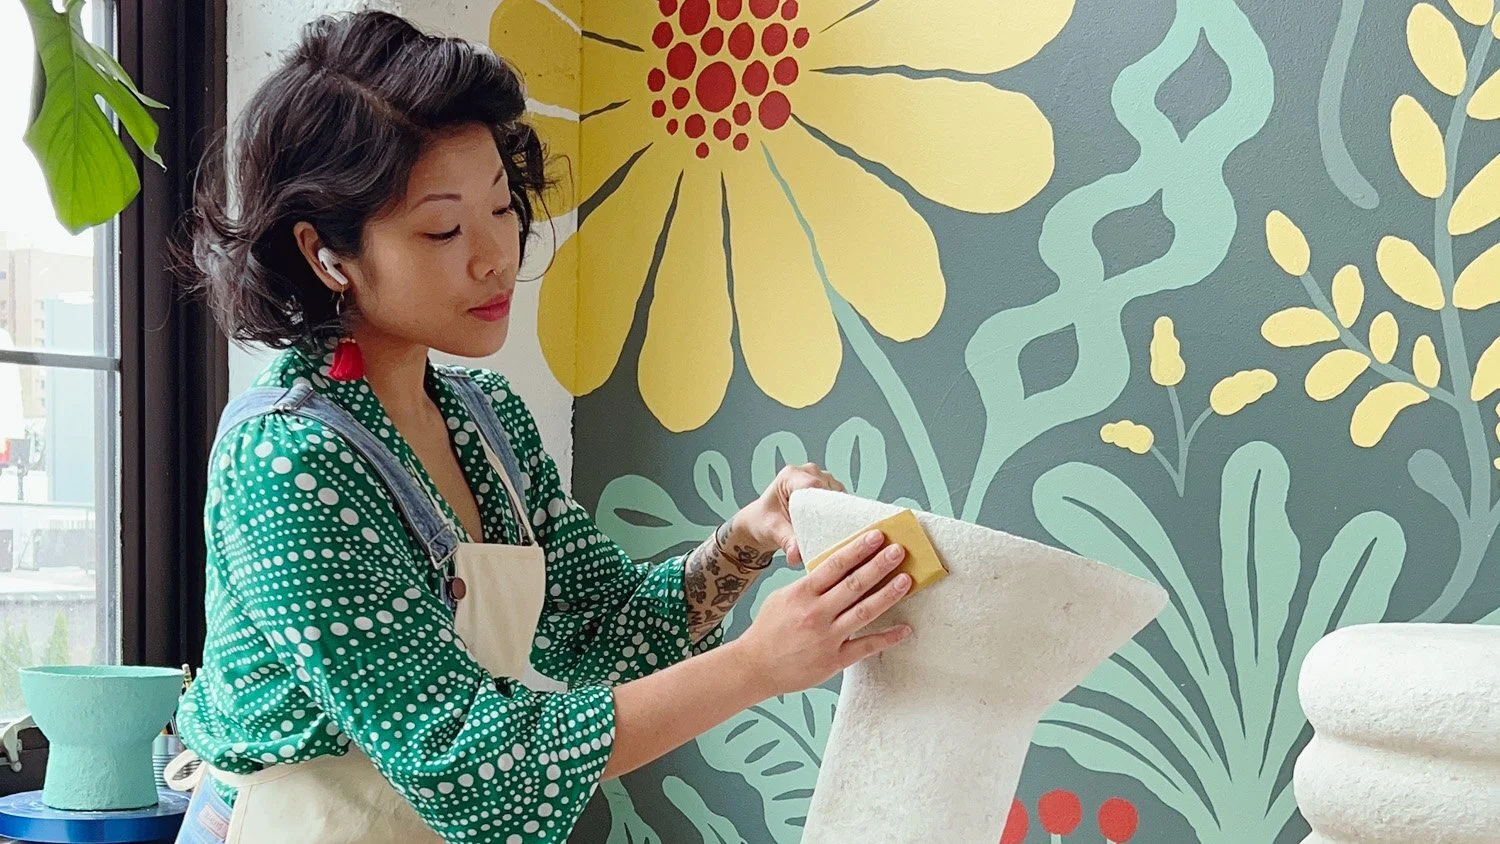
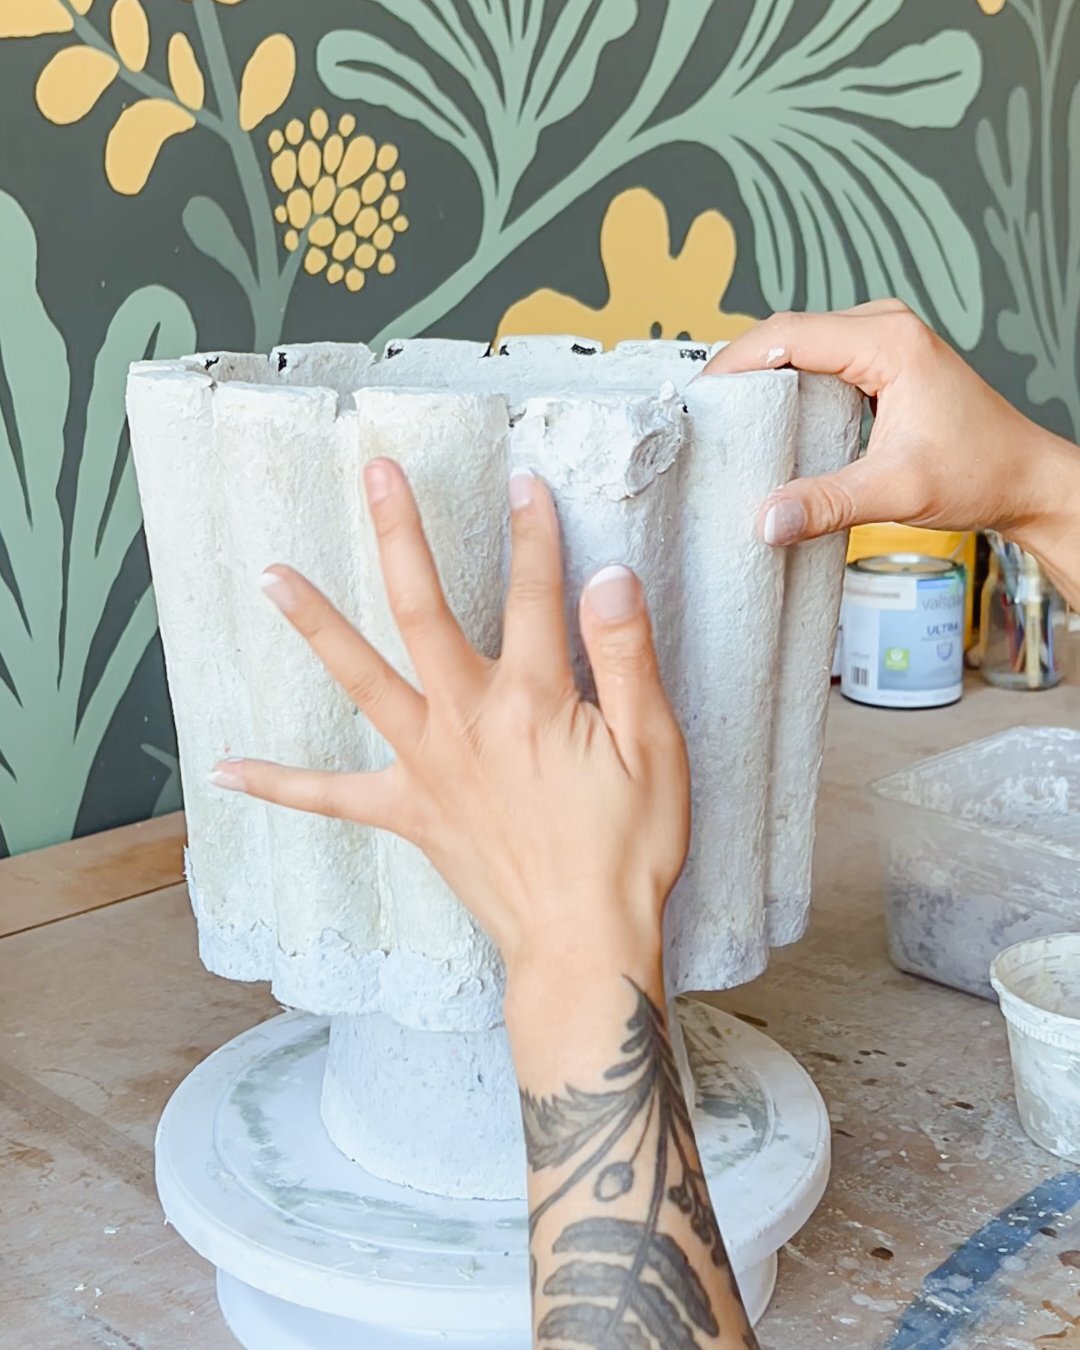
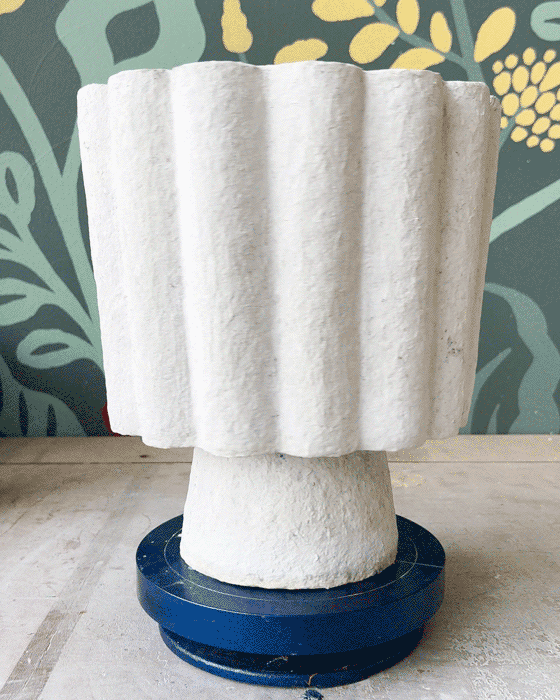
Step 3: Use the Paper Clay for Crafts
This clay is amazing because it sticks to almost everything. I primarily use it as a coating for upcycled crafts; I’ve smushed it onto foam, plastic, metal, glass, and more…and because it has wood glue in it, it’s adhered to the surface as it’s dried. As with most materials, the thicker the layer you apply, the longer it’ll take to dry. Since paper is an organic material, you’re going to want to let each layer dry in between applications to avoid any mold or bacteria forming (stinky!). The more layers you add, the stronger your craft will be.
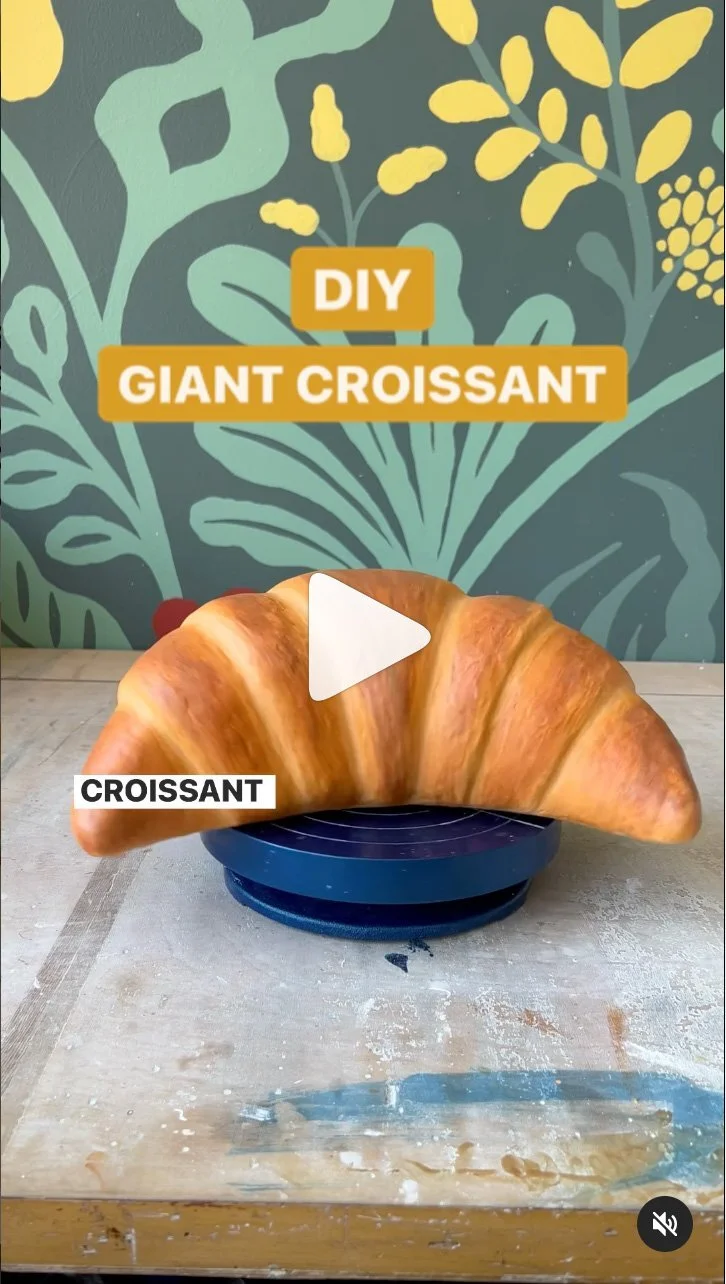
Click the image to watch the tutorial
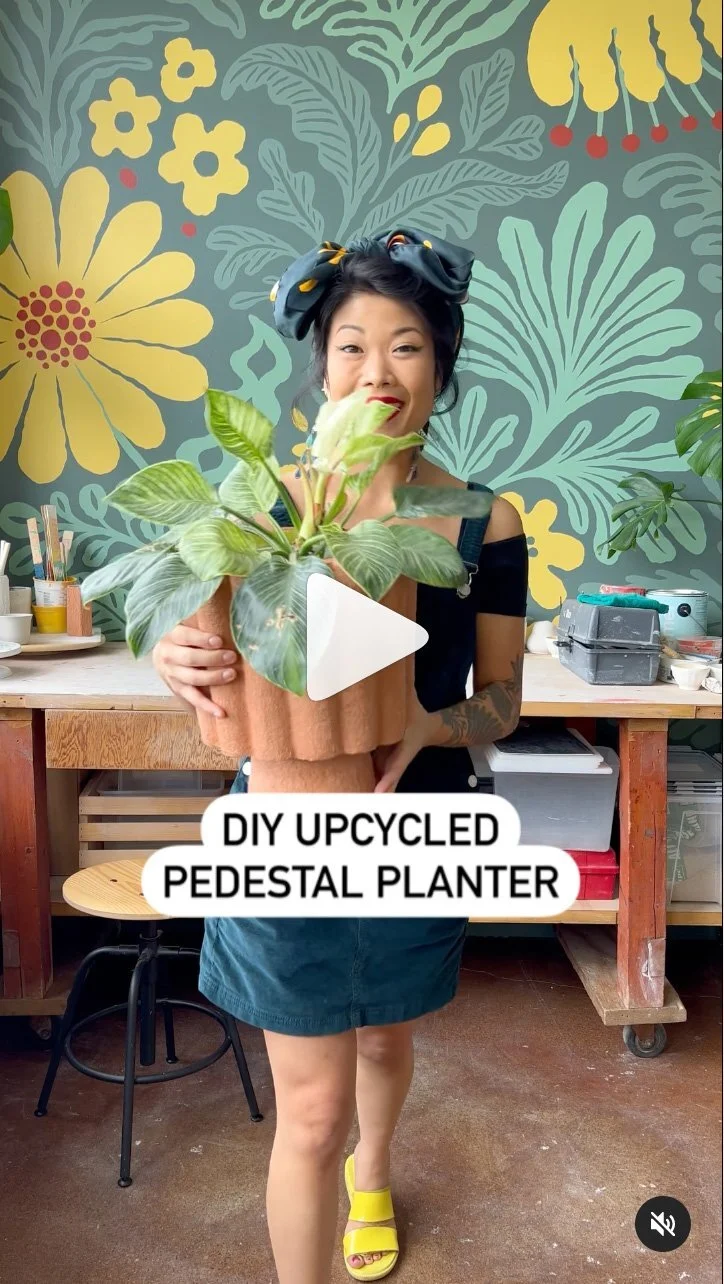
Click the image to watch the tutorial
Once dry, the paper clay is paintable and can be sanded. A tip on sanding though: since sanding tends to get messy, it’s easier to add a thin layer of joint compound (since you likely have some leftover from making the clay) on top of your craft and smoothing that out with a damp cloth to achieve a smoother look. I’ve used both techniques, and adding the joint compound is 100% the less messy option.