
How to Transfer Your Mural Design to a Wall
I get A LOT of questions about transferring artwork to a mural-sized surface. This is (understandably) one of the most intimidating parts of beginning mural work for a lot of artists. Lucky for you, there’s a ton of options out there, and many of them are super-accessible to beginner muralists.
What I mean is you don’t need to drop hundreds of dollars on a projector for your first project. There are other time-tested ways to get your work on large surfaces that don’t include any expensive equipment!
I did my early murals completely freehand and these days I usually use transfer paper or a projector. Both techniques have their advantages, so first I’ll explain when and how I use each method.
Projectors
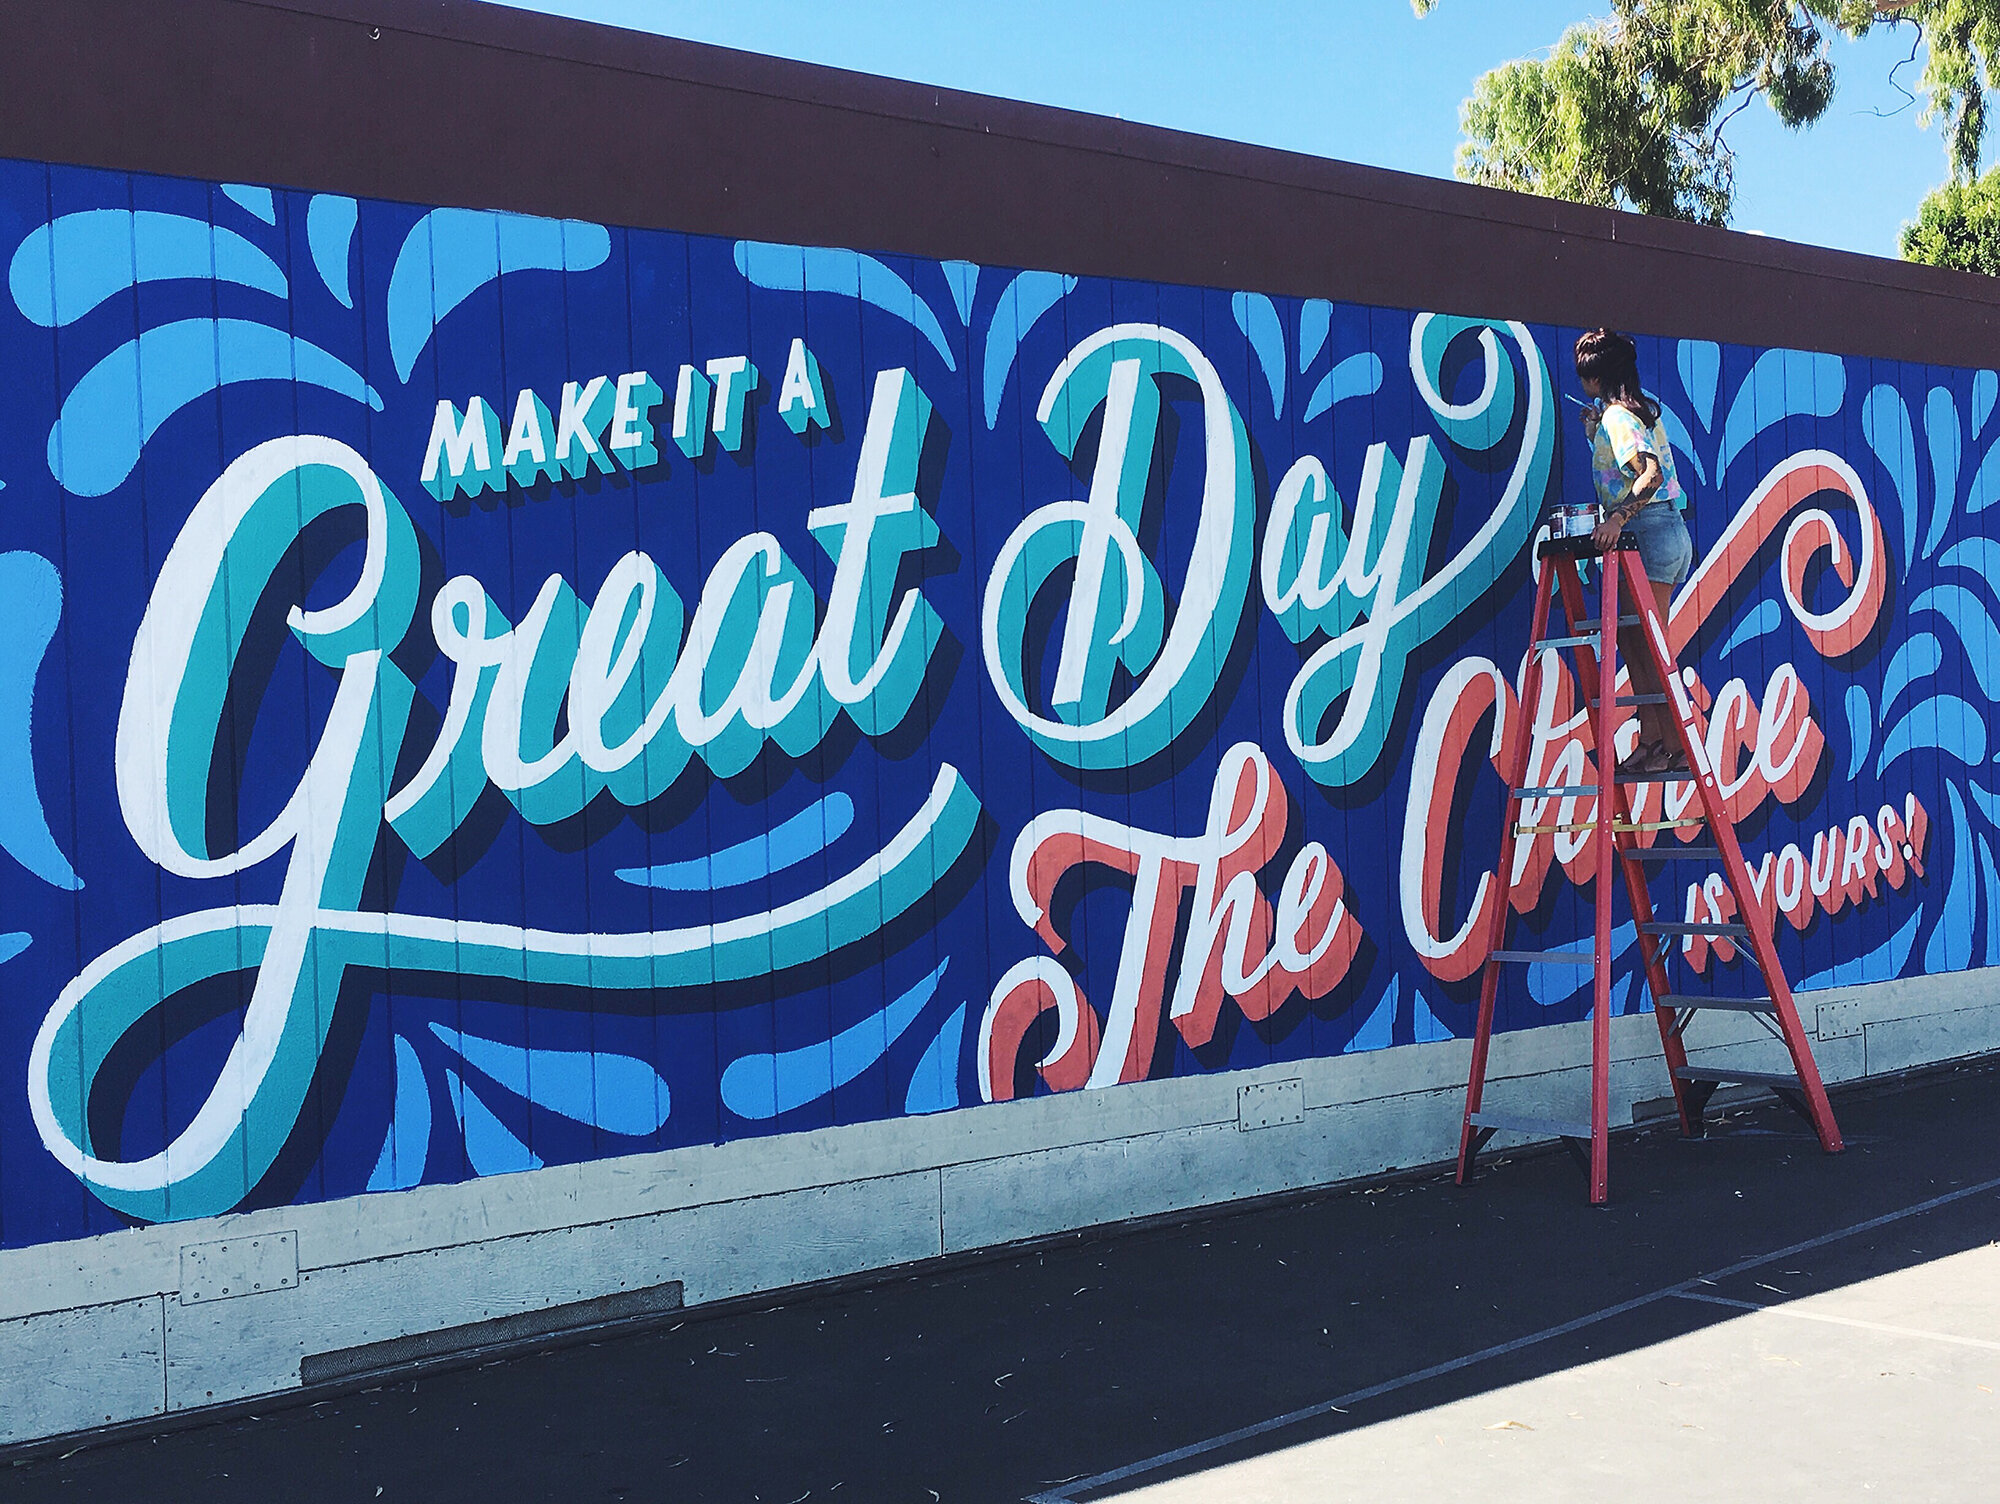
Projectors are great for large murals because they give you basically unlimited coverage. I first used a projector for the Silver Spur Elementary school project, and now I use this one for a lot of larger murals, including the mural at the Googleplex and the mural at the Immigrant Legal Resource Center’s headquarters.

There are some drawbacks to projectors, though. The biggest one is cost - most decent projectors are at least a few hundred dollars! Other issues I’ve noticed with projectors is that they require power and specific light conditions, both in your composition (so the contrast is high enough) and in the mural environment.
I had to do the school mural transfer in the dark!
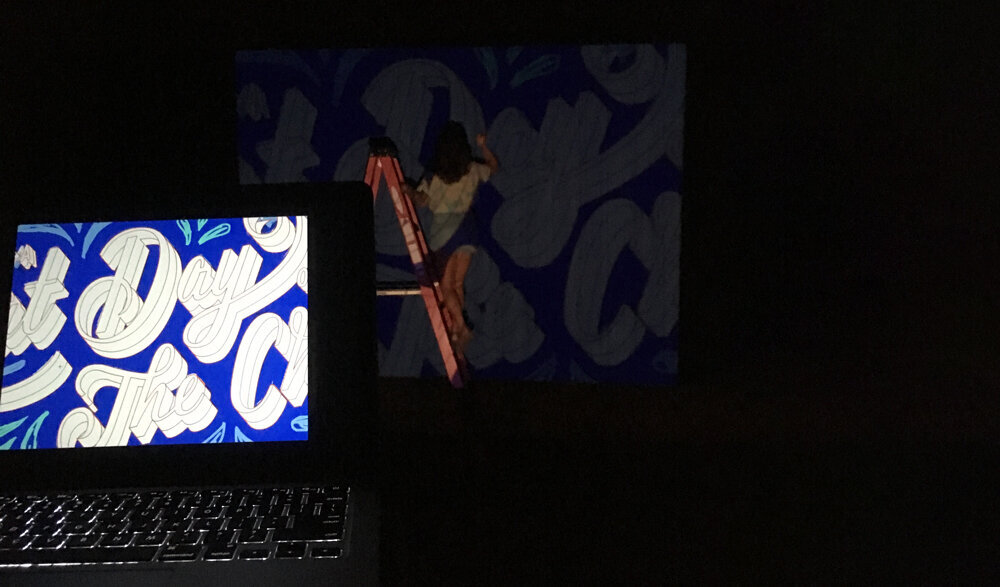
Projector images also tend to skew near the edges so you’ve got to do regular checks from far away to make sure your image is translating correctly onto the mural surface. You also might run into clearance issues - a projector needs a certain height and angle to correctly project your art.
Transfer Paper
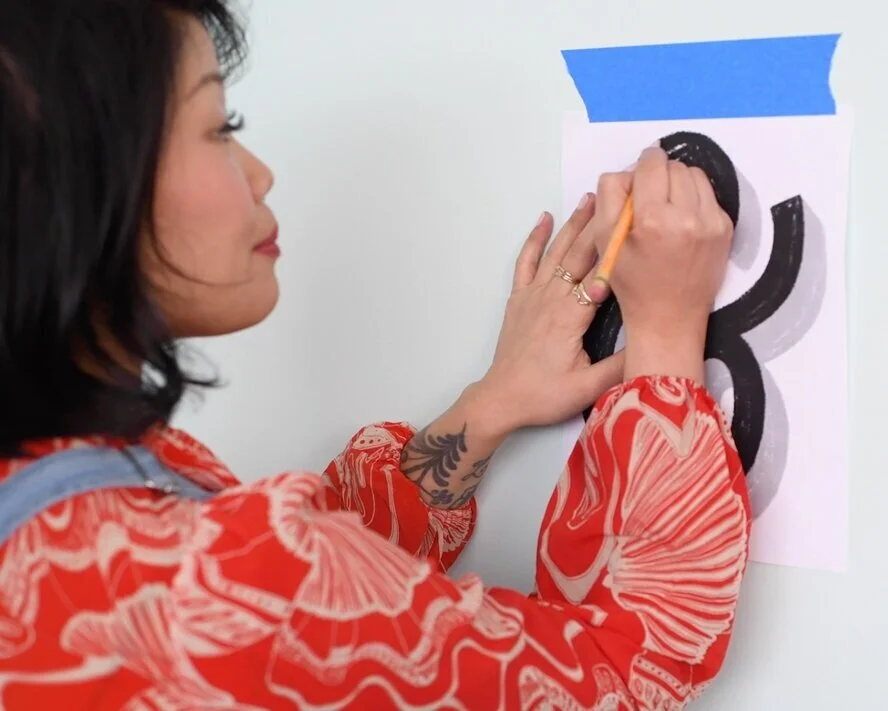
Transfer paper is the other method I use to scale up mural images. This involves printing out a large-scale version of the art (usually using a printing service) and then transferring it to the mural surface with transfer paper.
This method is less expensive than a projector, at least for your first few murals. It also sidesteps the projector issues of skew and clearance.
Probably the biggest issue with paper transfer is that it is way more time intensive than the projector method. Unless you’ve got a bunch of extra people helping you out, getting all the paper up and secure could take hours. And that’s before you even start tracing!
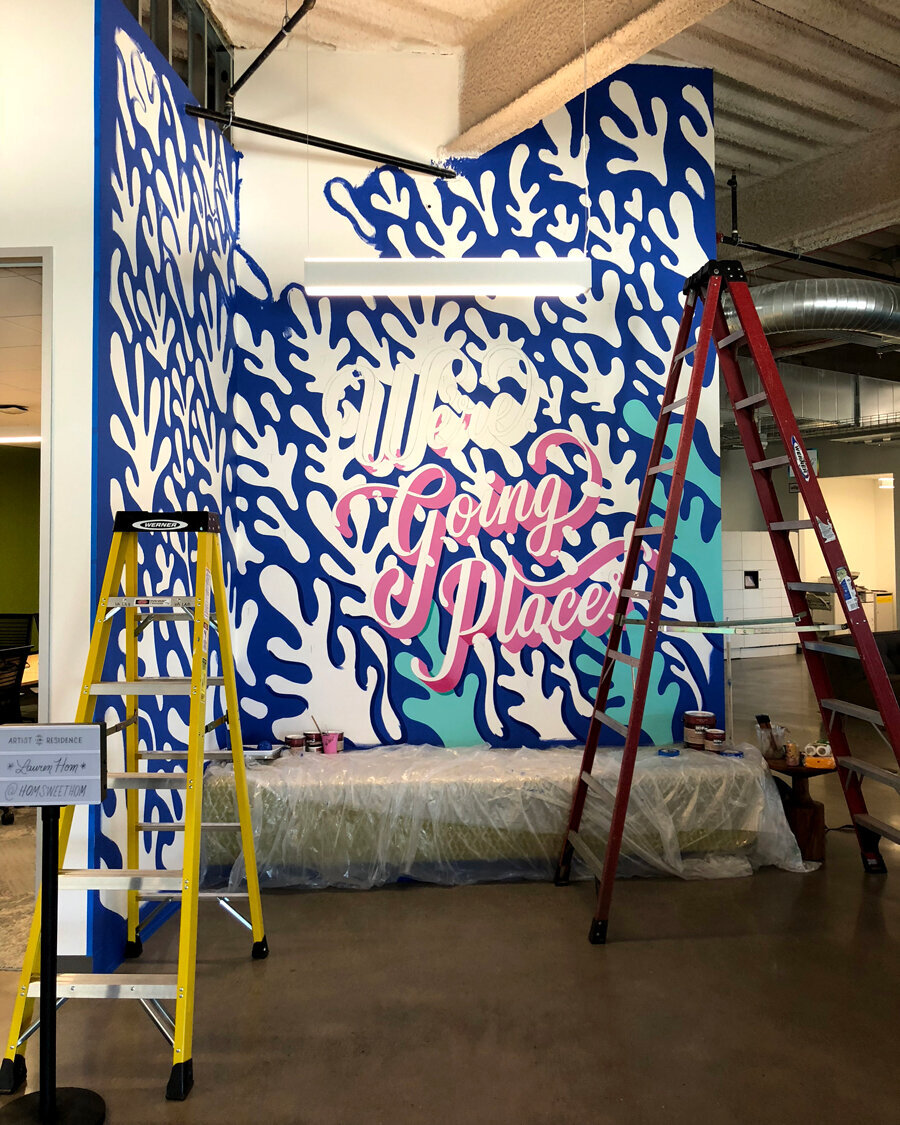
I do love transfer paper for smaller murals and slower indoor work though, because it doesn’t require power or specific light conditions and - in the case of my studio murals - I can leave paper up for as long as I need to. The transfer paper method doesn’t require checking angles or resizing anything if I take a break, unlike the projector method.
Stencils
If you’re creating a more organic mural with a pattern or repeating elements, cutting out stencils, holding them against the wall and tracing them can definitely do the trick.
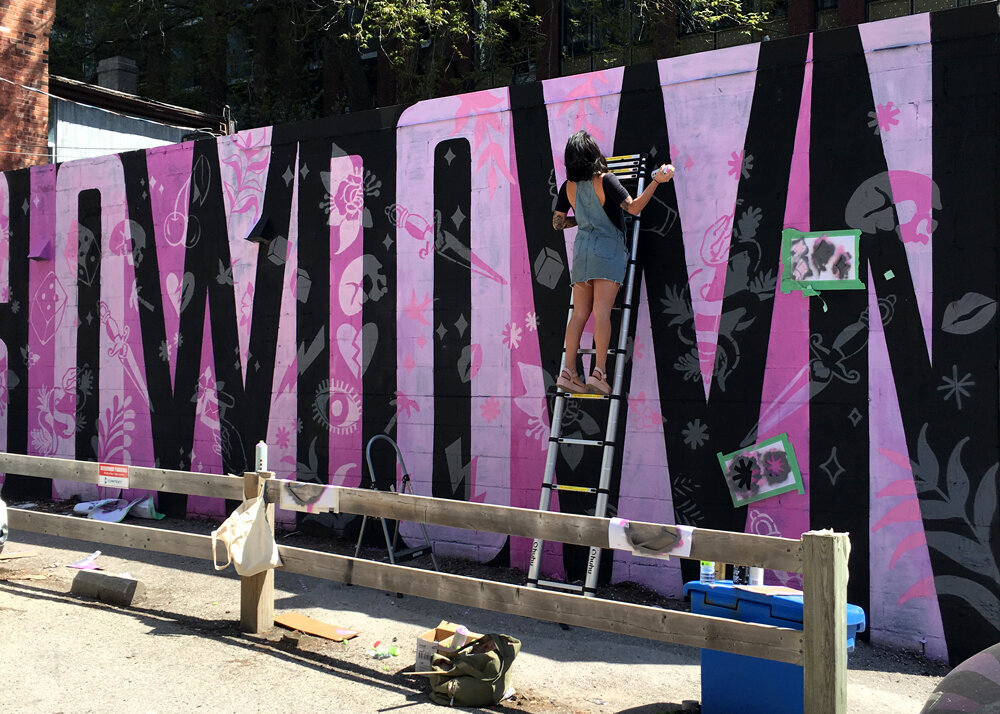
You can either cut out shapes and trace around their edges, or you can cut out negative space out of paper and spray paint over them, like my friend Ben Johnston and I did with this mural:
Other Transfer Methods
I know of two other common transfer methods (and there are other, less common options, too). FYI, I haven’t tried either of these. Some of my peers who do murals prefer these transferring options, so I’m including them here in case you want to check them out!
Grid Transfers
Grid transfers are where you draw a grid on your original art and then draw a (large) grid with the same proportions on the mural surface. You then use the grid as a reference to freehand the artwork onto the mural surface. Some people recreate the art square by square, while others only use the grid to recreate the basic outlines or guidelines of the piece.
Pounce Method
The pounce method uses a pounce wheel and pounce pad with the same large scale printouts you would use with the transfer paper method. But the pounce method uses a different technique to actually get the art onto the mural surface. Basically, you’re making a big stencil.
Once you have the large printout you trace the outlines with a pounce wheel (a wheel tool that cuts little holes into the paper). Then you attach your paper to the mural surface and go over the whole thing with a pounce pad (loaded with charcoal or chalk). The powder from the pounce pad goes through those little holes on the paper and leaves an outline of your art right on the mural surface.
Pounce material is relatively inexpensive (compared to a nice projector haha). So if you find yourself doing mural work that would be easier with guides - rather than freehand - pounce materials are a solid lower-cost option.
If you’re curious about either one of these other methods, give ‘em a quick Google search and you should be able to find more in-depth tutorials on how they work.
Things to know when working at a large scale:
Here are a few other things I’ve learned from working on large scale murals that might be useful if you’ve never done one before.
Some people think that using a projector means your mural isn’t a “real” mural. That’s bullshit. You made the small art and you’re doing the large art, too. If it’s up on a big ol’ wall, it’s a mural. Doesn’t matter how it got there.
Take a step back from your mural every 15 or 20 minutes to see how it’s all shaping up. When you’re working on art that’s bigger than your body it’s easy to miss mistakes until late in the game. Check the “big picture” regularly so you can adjust as you go.
Have a “home” for all of your paint and supplies. It’s too easy to leave paint cups or brushes all over the place and then - if you’re anything like me - you’ll end up stepping on a wet paintbrush or knocking over the last few ounces of a color you really needed. Save yourself a ton of cleanup and anxiety with a dedicated supplies station.
Mural work is physical work. You will probably feel sore after working on a large mural. Stay hydrated, take breaks, and stretch. Get your whole body into the work whenever you can. It might feel a little silly to paint a big vertical stroke by slowly bending your knees, but your triceps will totally thank you for pulling in the hamstrings to help!
When you’re practicing mural work don’t forget to plan the logistics of transferring your art to a large surface. Once you’ve created some art at a normal scale, mock it up with digital tools to see how it looks on a large scale, create a checklist for the supplies you’ll need, then create (and prepare) a plan for transferring the work!
In the next blog post, I’ll talk about how to find mural surfaces - there are so many options! - and get some practice in so you have portfolio pieces and a chance to refine your mural-painting process. Stay tuned!
x Lauren


